
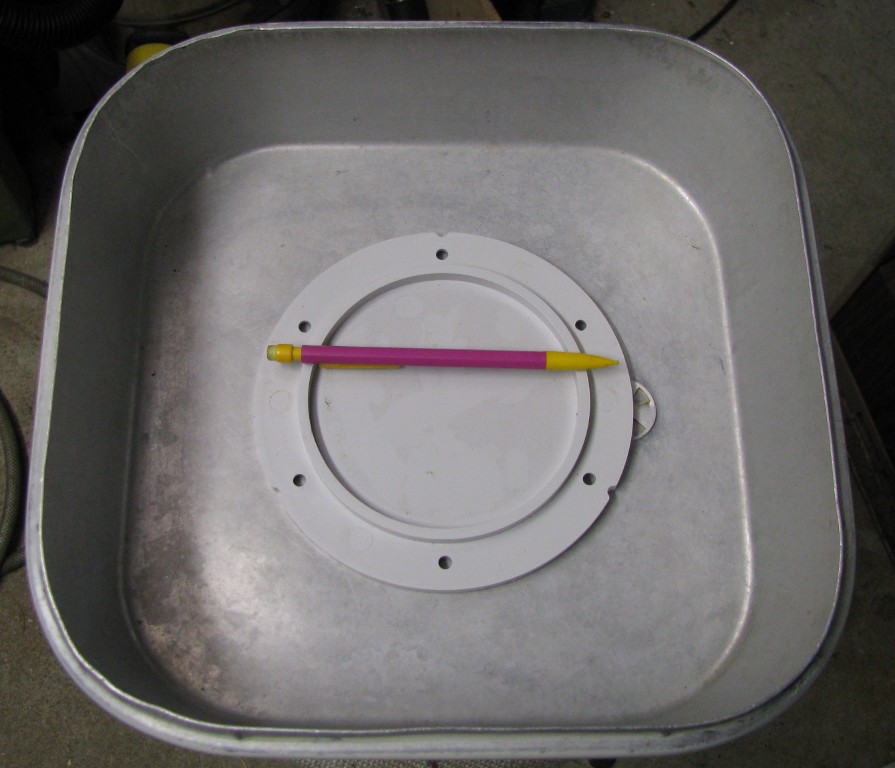
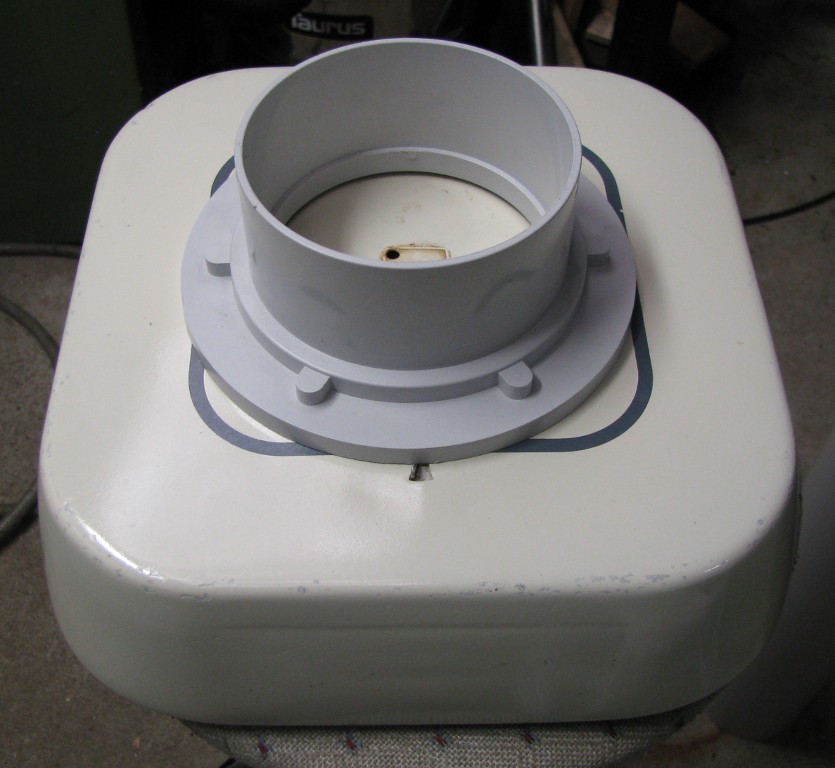
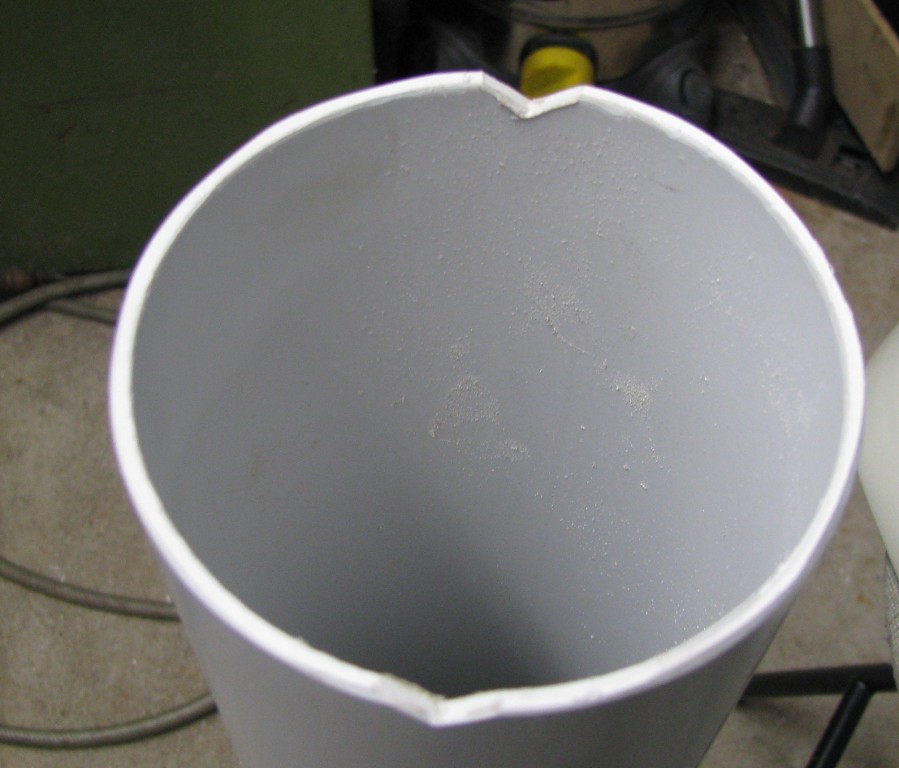
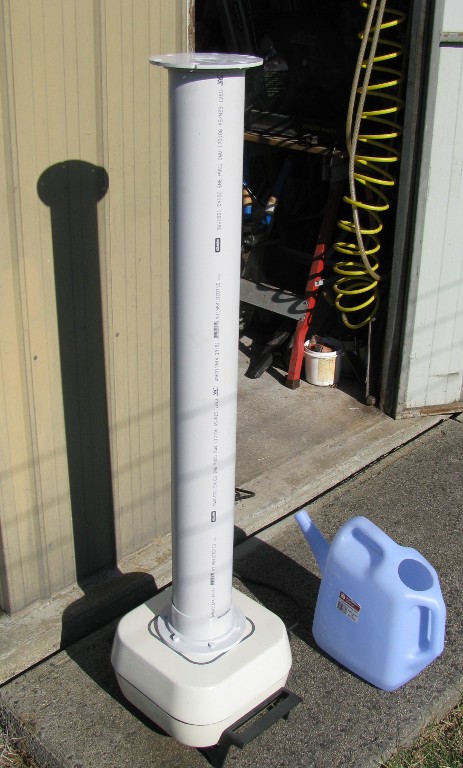
I'm starting off with this:
The deep base and flat-top lid make it perfect for the project.
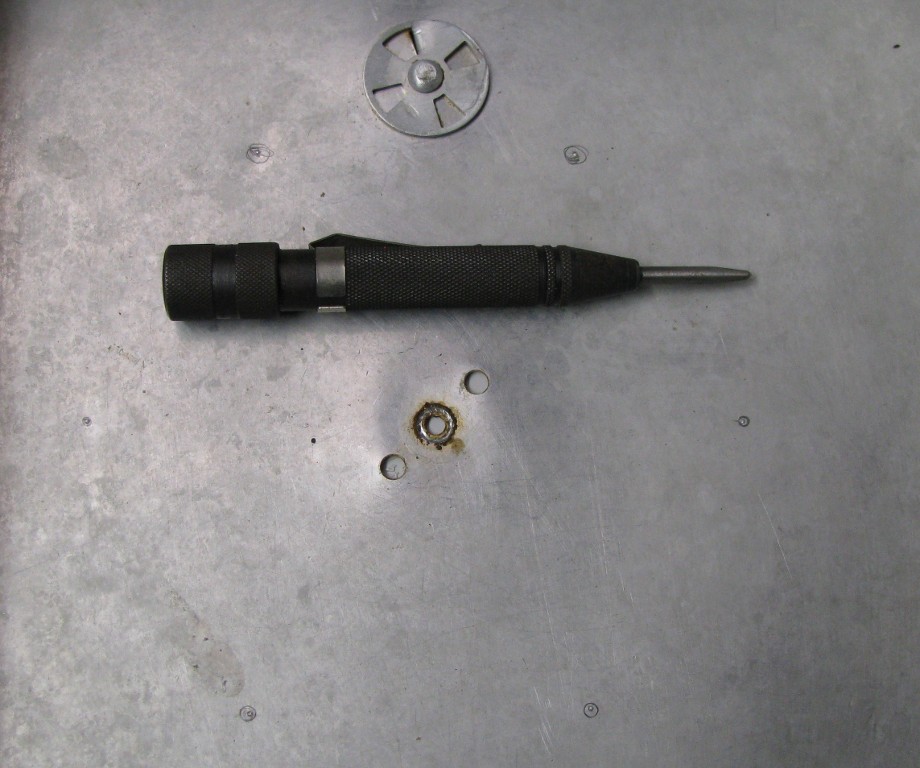
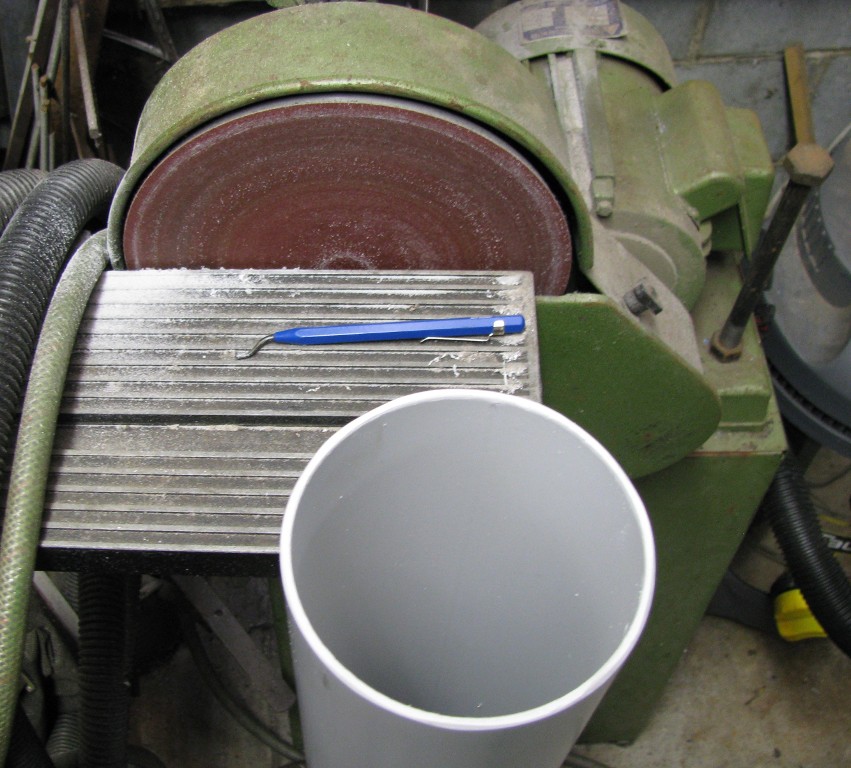
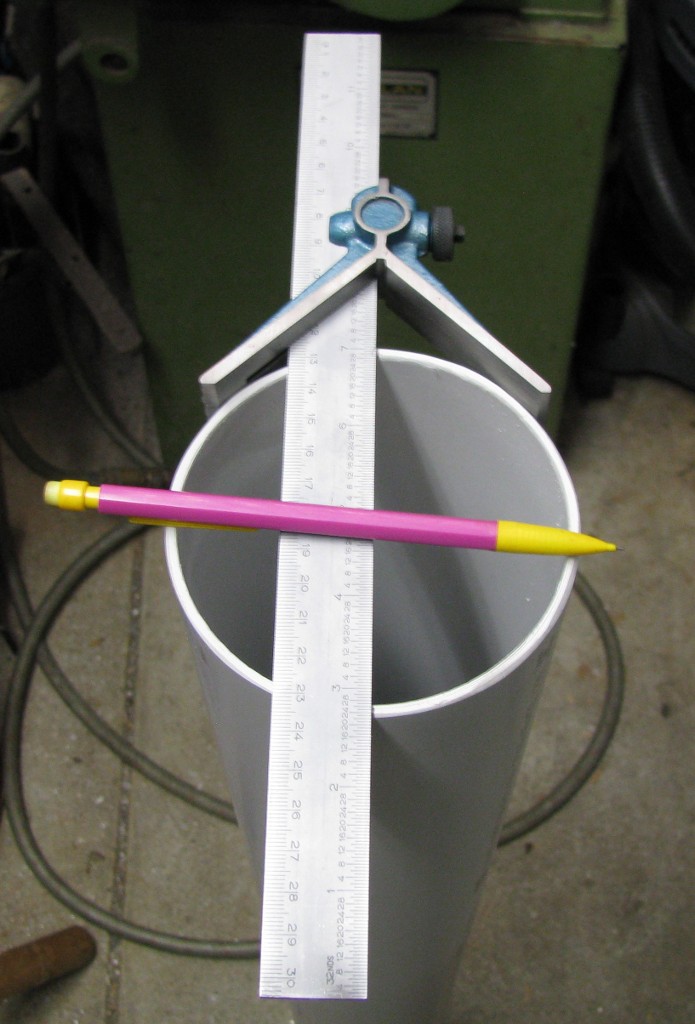
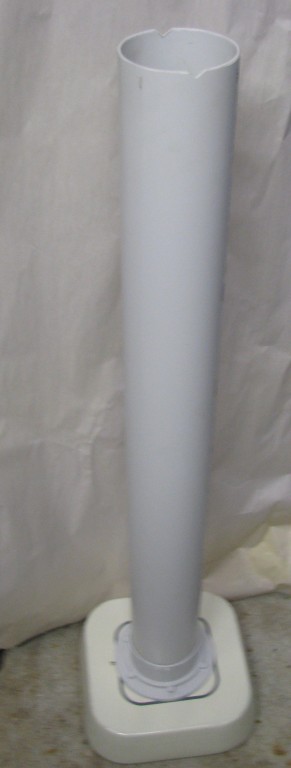
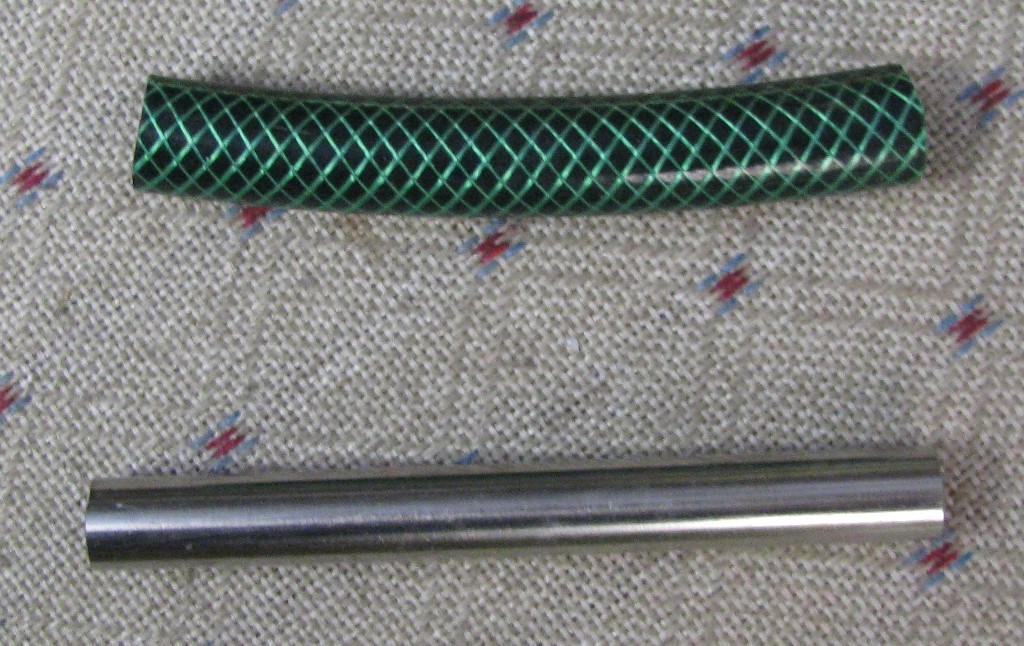
A trip to Bunnings and $18.45 later, I came home with these two components;
Edit: to localise images in this post.


Patience, brasshopper!
Very well indeed. The old time military arsenals and rifle manufacturers used the steam method, to speed up the process quite a bit.
Yes, that it does. Every serious reference I have on the subject, emphasises the use of distilled water only for boiling. Or in a rural area, filtered rainwater at least.I'm curious, as I normally boil the barrel etc in a long tank with distilled water but it can be a pain to have enough distilled water on hand. I've found the depth of brown to black conversion varies with water quality sometimes.
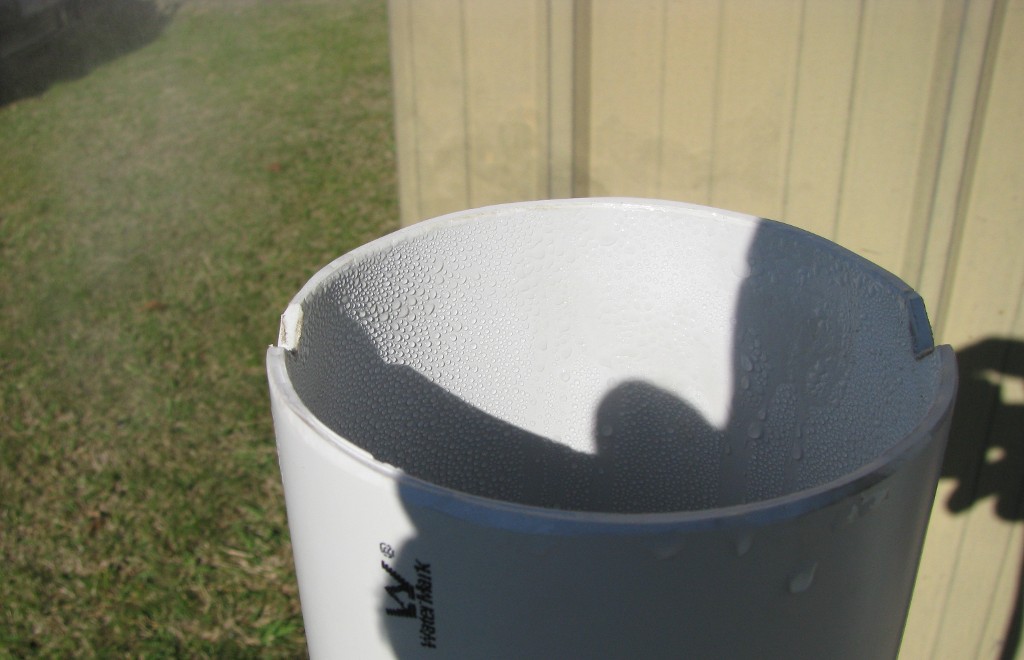
Yep, you need to be careful to keep conditions in the damp cabinet out of the 'condensing humidity' [>100% RH] region.I'm also careful to not create a rusting area that it too humid or you get condensation on the parts which leads to pitting. Also, if it's too damp the rusting can be too aggressive and you get pitting before you get a chance to get back to the next boil step. When I'm doing rusting cycles I have to work it around work usually, so it ends up being 12hrs or longer between boil/rust cycles.
