I will do that for sure and many many thanks in advancebimbo wrote:Send me some pics/drawings of what you want and I will make you a cap/patch/ball pouch - no sacks required
Making a Powder horn.
- Gnome
- .308 Winchester
- Posts: 1647
- Joined: Fri Jun 19, 2009 6:15 pm
- Favourite Cartridge: 375 Cheytac
- Location: Newcastle
- Contact:
Re: Making a Powder horn.
- Gnome
- .308 Winchester
- Posts: 1647
- Joined: Fri Jun 19, 2009 6:15 pm
- Favourite Cartridge: 375 Cheytac
- Location: Newcastle
- Contact:
Re: Making a Powder horn.
Gave the horns the complete once over with varying grades of sand paper to remove the original petina, grime and spider poo!
Before.
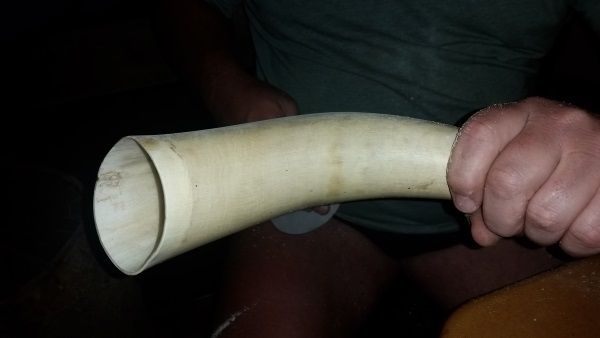
During
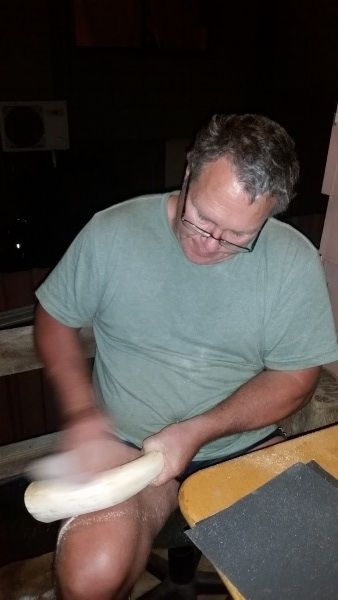
After.
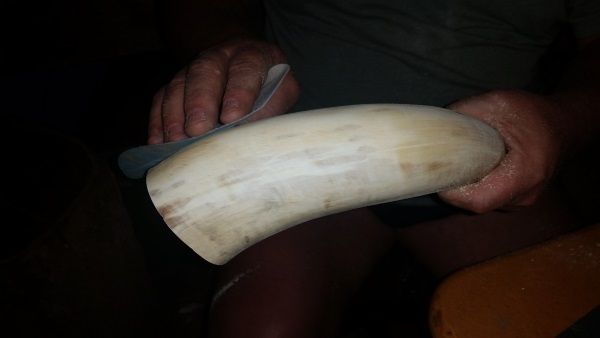
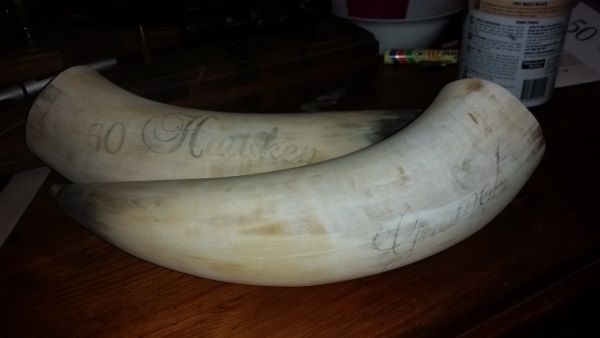
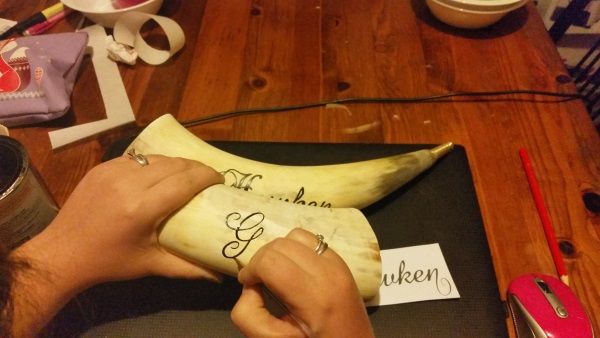
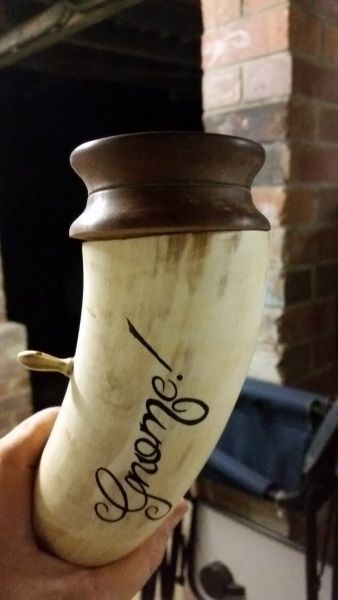
Once wiped clean of dust, the names were transferred onto the the horns. (Special mention to my Daughter for doing this as she has way steadier hands for this than I ever will.)
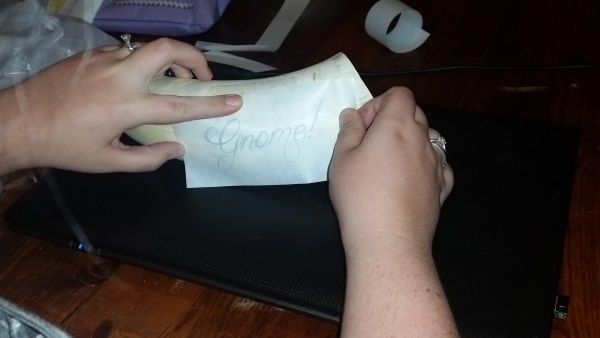
Before being painted.
Steady hands

After painting.
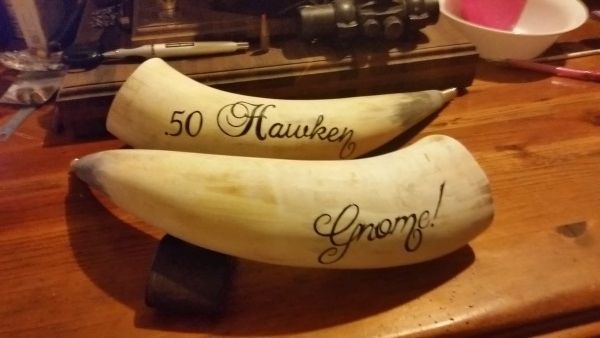
Tomorrow they will sit out in the sun to bake the paint on before I proceed to sealing them with wax. After they have been waxed I will then set the strap swivels in place and get started on the end caps.
Before.

During

After.

Once wiped clean of dust, the names were transferred onto the the horns. (Special mention to my Daughter for doing this as she has way steadier hands for this than I ever will.)

Before being painted.

Steady hands

After painting.

Tomorrow they will sit out in the sun to bake the paint on before I proceed to sealing them with wax. After they have been waxed I will then set the strap swivels in place and get started on the end caps.
- Camel
- Ultimate AusVarminter
- Posts: 12084
- Joined: Sat May 28, 2011 8:51 pm
- Favourite Cartridge: 20-222 6x47 rem, 250
- Location: Northern Riverina NSW
Re: Making a Powder horn.
Good stuff G-man, coming up nicely. If they don't work out any good for powder, you could use them for old fashioned hearing aids. 
-
B4408
- .270 Winchester
- Posts: 1270
- Joined: Sat Aug 31, 2013 6:49 am
- Favourite Cartridge: 20VT
- Location: Mid North Coast, NSW
Re: Making a Powder horn.
Very classy Gnome, daughter did a great job.
Bruce
Bruce
- Gnome
- .308 Winchester
- Posts: 1647
- Joined: Fri Jun 19, 2009 6:15 pm
- Favourite Cartridge: 375 Cheytac
- Location: Newcastle
- Contact:
Re: Making a Powder horn.
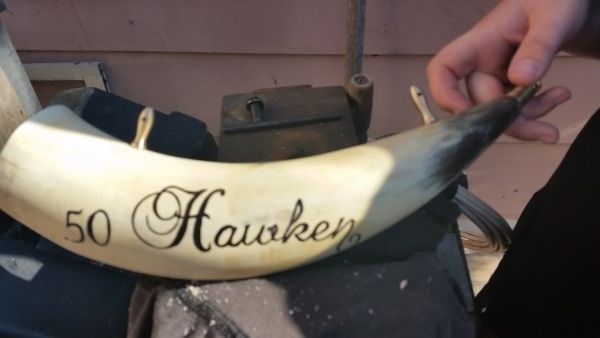
Ok so last week I set about fitting some custom long swivels but first stage was to drill the holes for fitment.
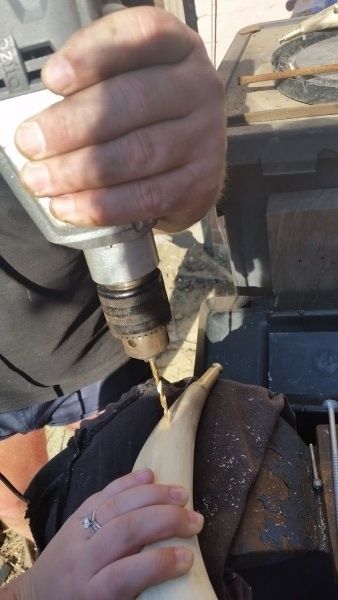
Swivels fitted and ready for gluing in place
This week my good neighbor Anthony, fitter machinist by trade, part time wood turner and fellow shooter of various types of firearms called me down to his place as he is on holidays for a couple weeks. I had spoken to him about brass work or timbers at the start of this journey and it was now a good time for us to work out the end caps and what style I was looking for. After some thought we decided to go timber as there are so many options available and being a little lighter in weight compared to a heavy brass end cap.
While there we looked at different wood types, broke a very nice peace of old unknown timber type that had tones of beautiful wavy grain through it , it was on to sorting through a number of varying peaces of wood that had nice character about them we ended up going with a very well aged Tallow wood and the very hard and rich in colour Australian River Red Gum.
The plugs that will go into the end caps are turned down Rusa dear antlers that I had given Anthony early last year for a project he was working on. I hope to get a couple pics of them being turned but no promises.
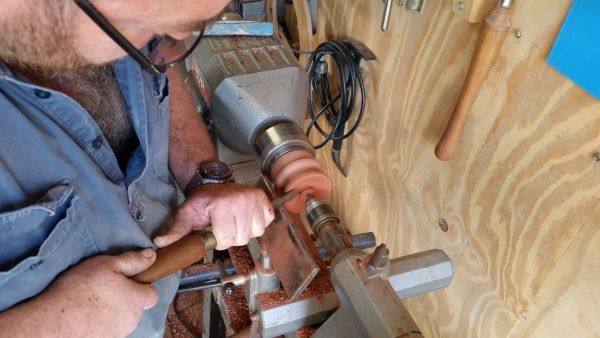
Turning down the Red Gum
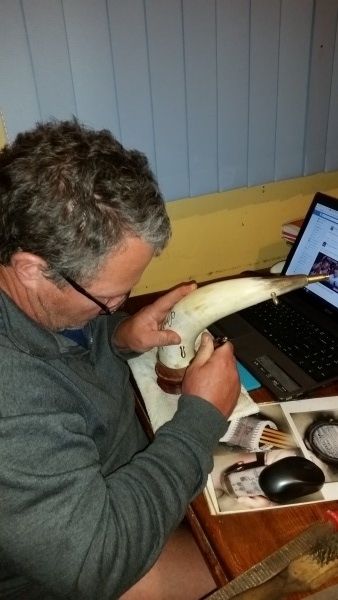
It was time to set the horn on the end cap for marking as a guide to how much has to be removed to at least get a start of fitment.
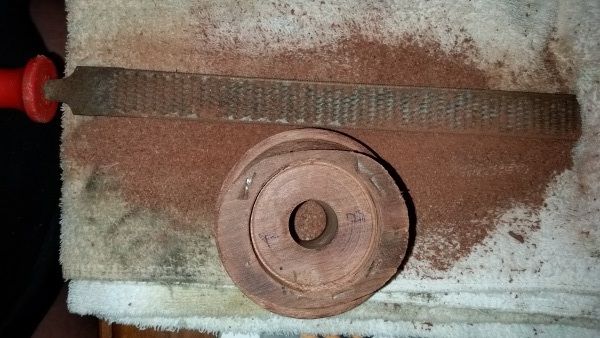
A couple hours of working on the wood rasp and you can see the shape taking place.
At last... after four hours of rasping work it has finally started to fit
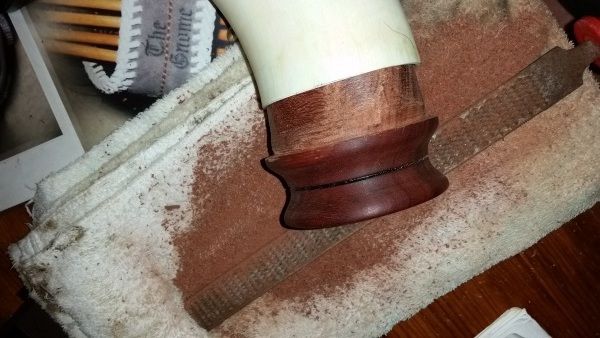
Working the wood on the sand paper wrapped file then inserting into the horn to see how much further sanding is required.
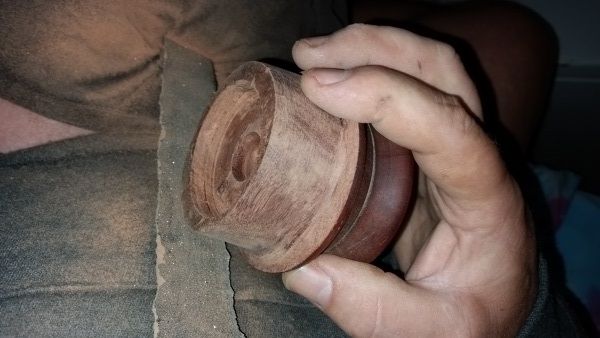
A little more sanding to be done, but am getting much closer each time.
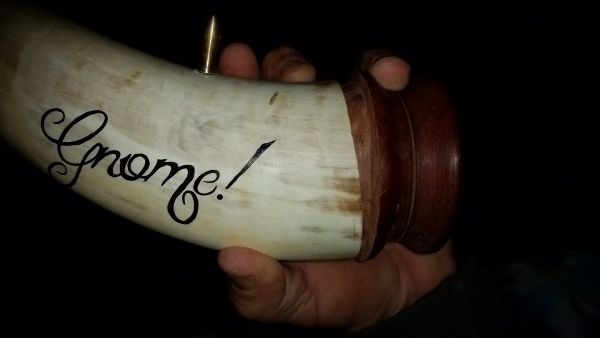
looking for the high spots after removing from the horn. As you can see the shiny spots around the middle is one of the areas I will focus on when sanding to get it to fit better.
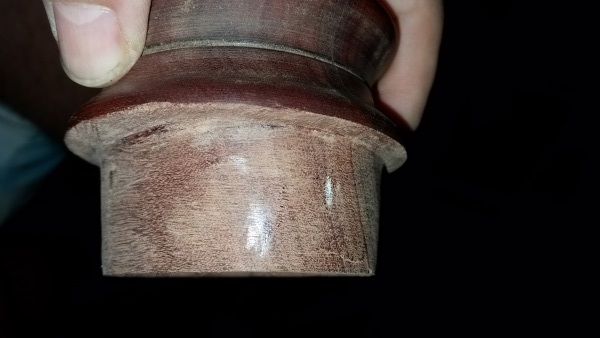
Final fitment and I'm a happy chappy next step is to glue in place with epoxy resin and prepare for the leather work to get them to the near complete stage.

Swivels fitted and ready for gluing in place

This week my good neighbor Anthony, fitter machinist by trade, part time wood turner and fellow shooter of various types of firearms called me down to his place as he is on holidays for a couple weeks. I had spoken to him about brass work or timbers at the start of this journey and it was now a good time for us to work out the end caps and what style I was looking for. After some thought we decided to go timber as there are so many options available and being a little lighter in weight compared to a heavy brass end cap.
While there we looked at different wood types, broke a very nice peace of old unknown timber type that had tones of beautiful wavy grain through it
The plugs that will go into the end caps are turned down Rusa dear antlers that I had given Anthony early last year for a project he was working on. I hope to get a couple pics of them being turned but no promises.
Turning down the Red Gum

It was time to set the horn on the end cap for marking as a guide to how much has to be removed to at least get a start of fitment.

A couple hours of working on the wood rasp and you can see the shape taking place.

At last... after four hours of rasping work it has finally started to fit

Working the wood on the sand paper wrapped file then inserting into the horn to see how much further sanding is required.

A little more sanding to be done, but am getting much closer each time.

looking for the high spots after removing from the horn. As you can see the shiny spots around the middle is one of the areas I will focus on when sanding to get it to fit better.

Final fitment and I'm a happy chappy

- Camel
- Ultimate AusVarminter
- Posts: 12084
- Joined: Sat May 28, 2011 8:51 pm
- Favourite Cartridge: 20-222 6x47 rem, 250
- Location: Northern Riverina NSW
Re: Making a Powder horn.
Getting there Chris, starting to look pretty flash mate. 
- Gnome
- .308 Winchester
- Posts: 1647
- Joined: Fri Jun 19, 2009 6:15 pm
- Favourite Cartridge: 375 Cheytac
- Location: Newcastle
- Contact:
Re: Making a Powder horn.
Thanks MarkCamel wrote:Getting there Chris, starting to look pretty flash mate.
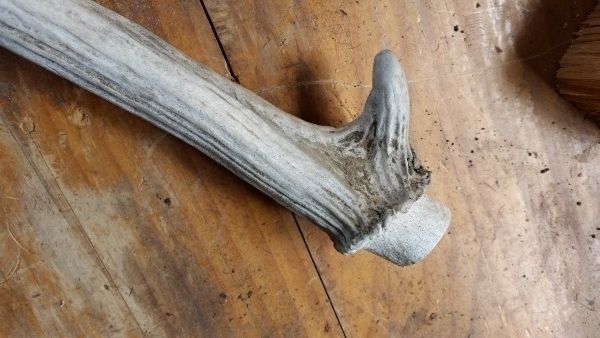
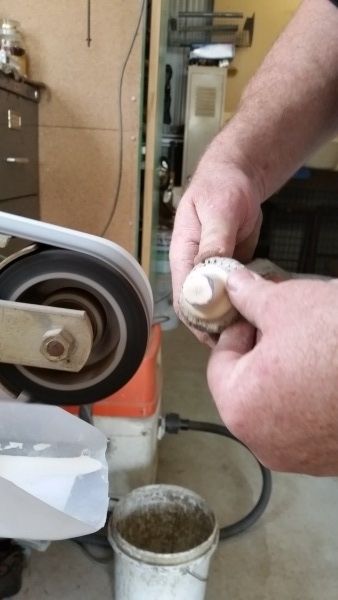
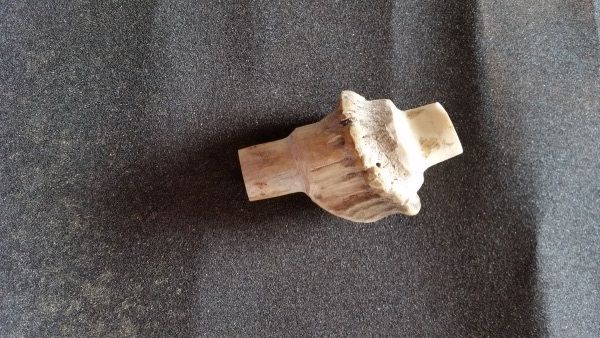
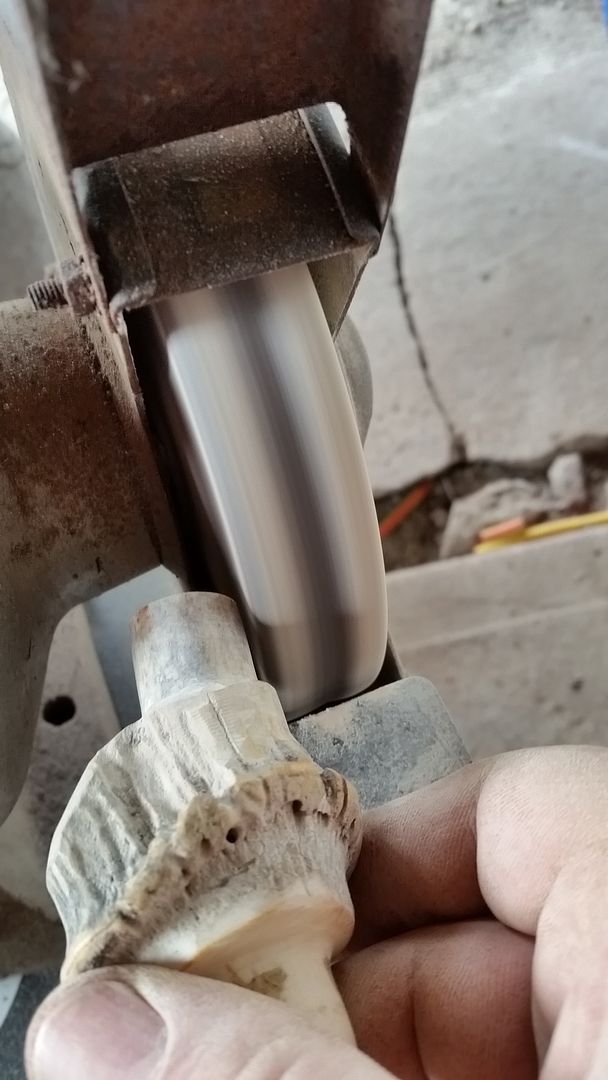
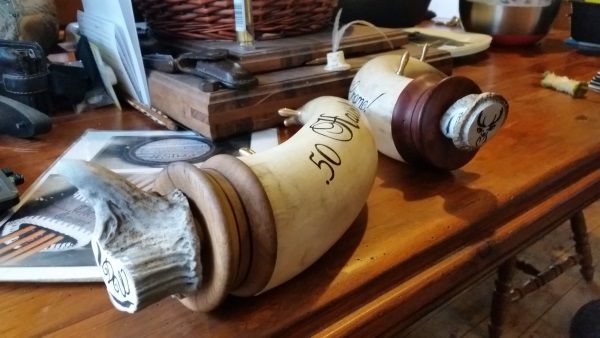
I wasn't sure if I was going to be able to get pics of the antlers being cut, ground and set but managed to grab this lot and am very happy with the way they have turned out.
One of the antlers that will be cut, linished and fitted to a powder horn.
Rounding down on the linisher
Wasn't happy with the way this one was looking when set in the end cap so it was attacked with the hacksaw then finished up on the bench grinder to a better suited look and fit.
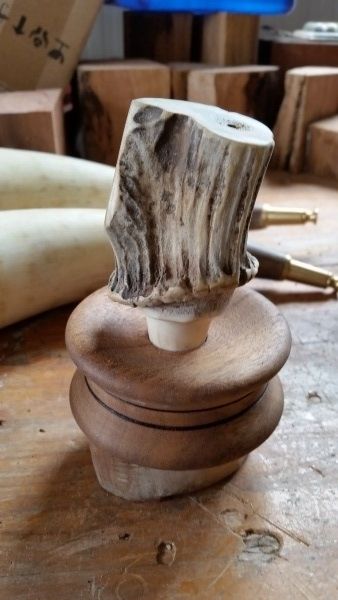
Yeah that looks much better.
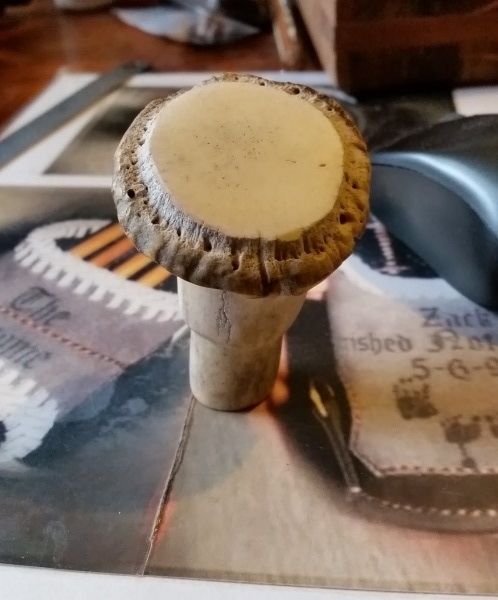
A nice deer silhouette drawn on before painting over and sealing.
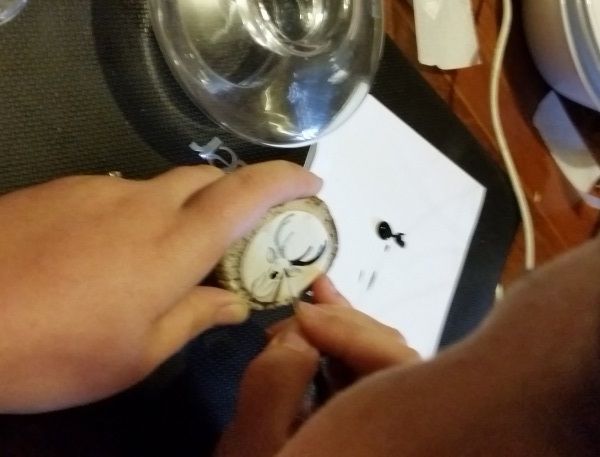
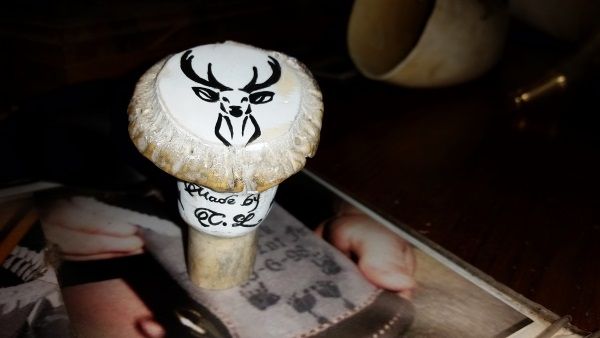
Looks pretty darn nice now
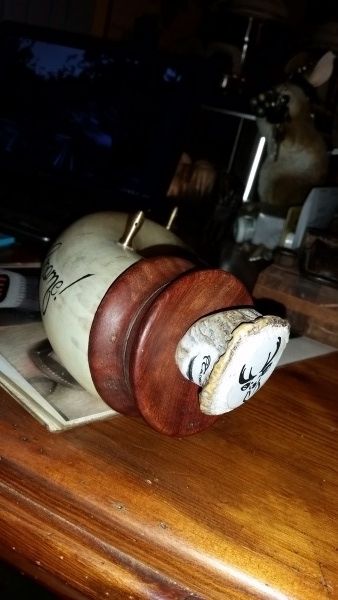
This one is coming along nicely too
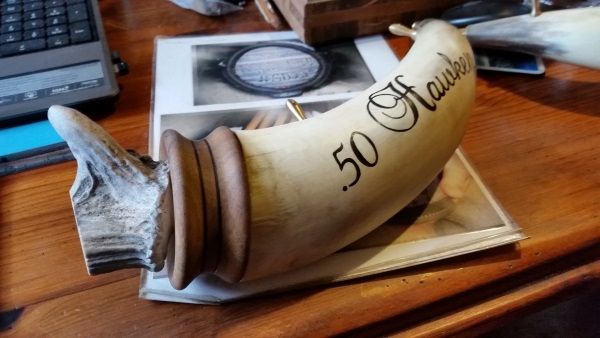
Aye they look good as a pair
- bimbo
- 300 Win Mag
- Posts: 1791
- Joined: Tue Oct 10, 2006 10:34 pm
- Favourite Cartridge: 17HH
- Location: Newcastle, NSW
Re: Making a Powder horn.
Any more updates? like maybe some super sweet looking leather work????? 
- Gnome
- .308 Winchester
- Posts: 1647
- Joined: Fri Jun 19, 2009 6:15 pm
- Favourite Cartridge: 375 Cheytac
- Location: Newcastle
- Contact:
Re: Making a Powder horn.
Sorry Bimbo I had totally forgotten this last stage till todaybimbo wrote:Any more updates? like maybe some super sweet looking leather work?????
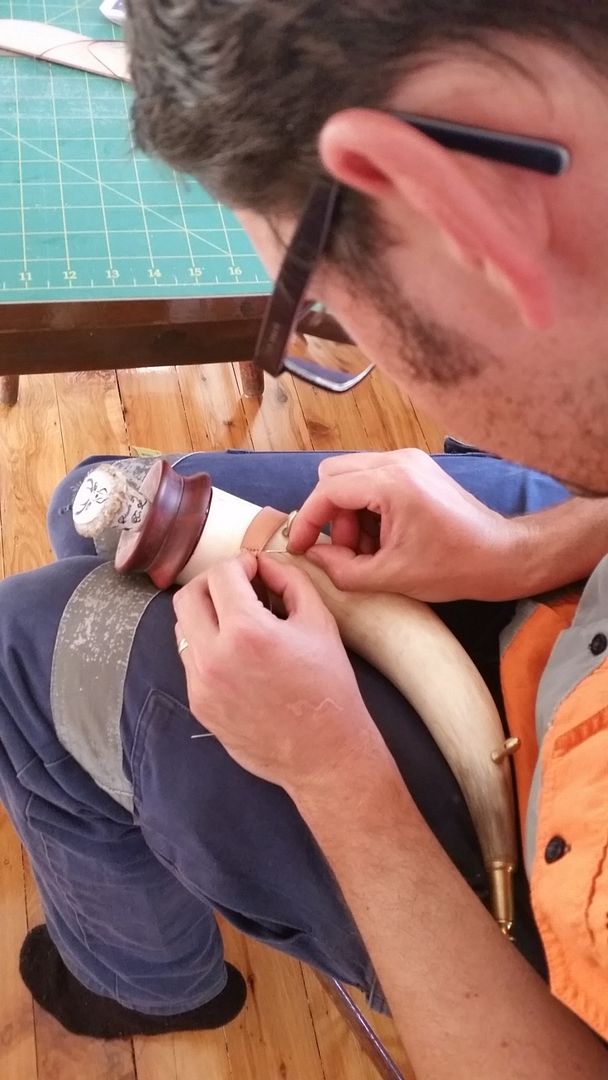
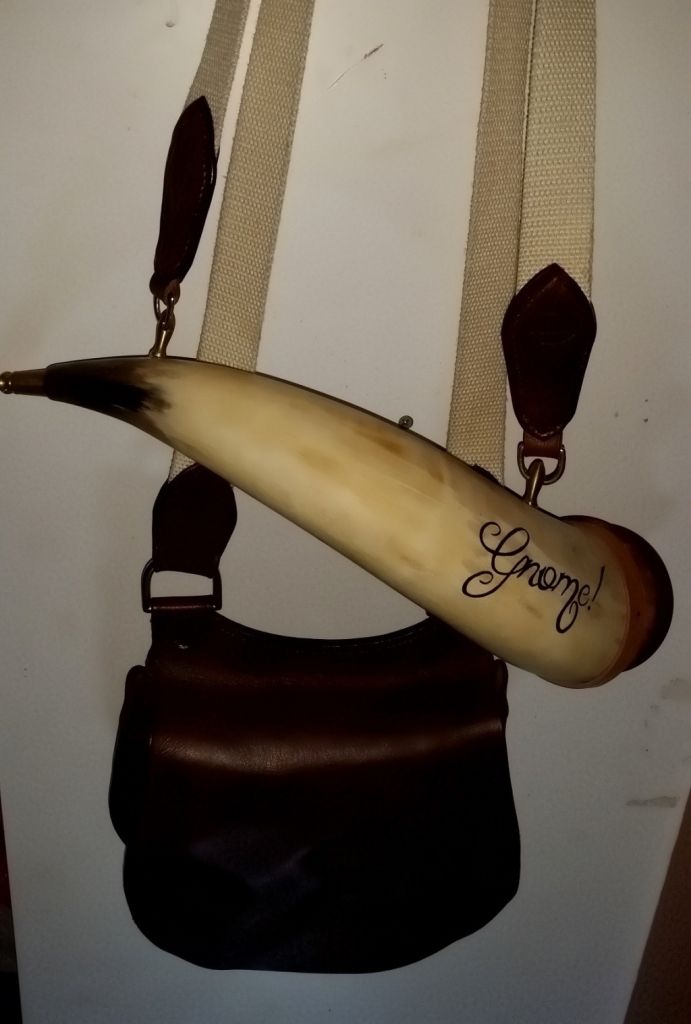
Well folks here is the final installment for this and I have to say I'm very impressed with the way it has turned out and a HUGE Thank you goes to Bimbo for his kind and very nice leather work skills.
The master leather worker doing his stuff
Yeah they looks great hanging together
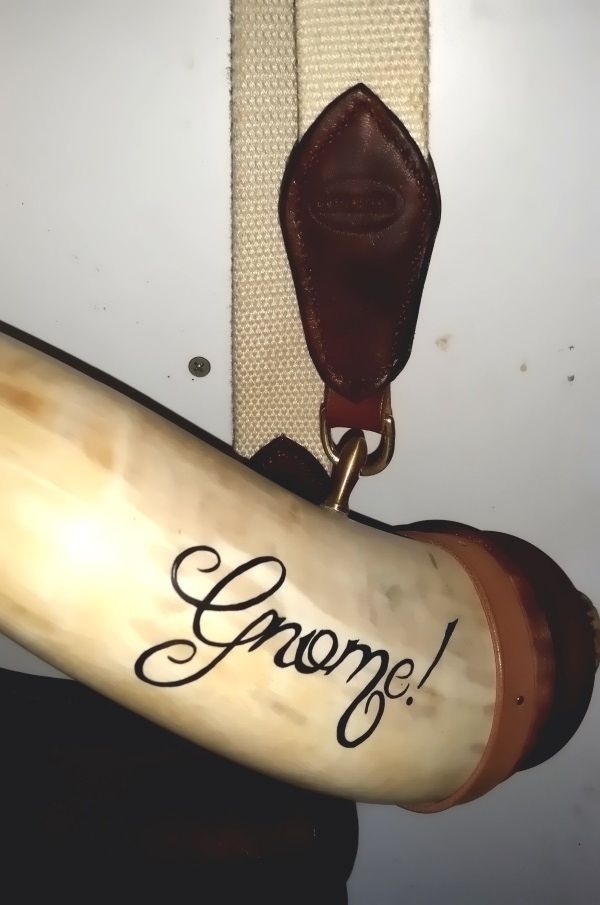
I will have to get a better daytime pic of the stamp (The Hide) that Bimbo has had made up but needless to say it sure does look great in person
-
barryb
- .270 Winchester
- Posts: 1326
- Joined: Fri Oct 18, 2013 10:35 am
- Favourite Cartridge: 17 ackley hornet
- Location: Hunter NSW
Re: Making a Powder horn.
I've seen this first hand yesterday , awesome work & finish.
Barry
Barry
Re: Making a Powder horn.
Very nice indeed
