DIY - New Build Project
Re: DIY - New Build Project
A couple of things I didn't mention earlier was prior to the glue up I roughed sanded both sides of the aluminium with a 60grit to create a surface for the glue to bond to and remove any oxidising on the alloy. After that cleaned them down with acetone to remove any oils or other contaminations to help with the glue bond.
Also the app that did the time lapse with is iMotion which the kids had and seemed to work pretty well.
Also the app that did the time lapse with is iMotion which the kids had and seemed to work pretty well.
- Camel
- Ultimate AusVarminter
- Posts: 12084
- Joined: Sat May 28, 2011 8:51 pm
- Favourite Cartridge: 20-222 6x47 rem, 250
- Location: Northern Riverina NSW
Re: DIY - New Build Project
albow wrote:Camel it is not just the weight of the stock, it is also the structural rigidity, vibration damping etc that comes from laminating the layers.
As for the glue, seems like a lot but the sheets are 1220mm x 250mm so I had covered 1.75 square meters of material in that lay up even though I use a notched spatula to apply it you still have a fair bit squeeze out but that just means you get a good bond as the last thing I want is a dry area in the laminating

As for the missus, she was there just in case I needed a hand but with the heat and humidity up here today the glue went off pretty quick being epoxy so she rolled the sleeves up to help out but apparently it is going to cost me a manicure as there is glue all under her nails.........
but I won't let her go till we get the next half glued up tomorrow otherwise it will cost me two manicures

OK, Good call on the manicure, cunning ploy that, two for the price of one.
-
Rinso
- .338 Lapua Magnum
- Posts: 2055
- Joined: Thu Jul 27, 2006 11:09 pm
- Favourite Cartridge: 25.06
- Location: Hervey Bay Qld
Re: DIY - New Build Project
Looking good Al, I think you will end up with a very very nice stock.
Always good to see the family involved in the sport as well.
Nice to see everyone wearing thier PPE to ... thongs, singlets and shorts gotta love NQ


Always good to see the family involved in the sport as well.
Nice to see everyone wearing thier PPE to ... thongs, singlets and shorts gotta love NQ
- curan
- .338 Lapua Magnum
- Posts: 2405
- Joined: Sat Aug 18, 2007 1:53 am
- Favourite Cartridge: 30/30
- Location: Mid North, South Australia
Re: DIY - New Build Project
As good as the build is, I'm pretty impressed your missus got in there to lend a hand.
You're a lucky man!
You're a lucky man!
-
kickinback
- 50 BMG
- Posts: 3991
- Joined: Sun Jan 07, 2007 11:54 am
- Favourite Cartridge: 260 Rem
- Location: Lilydale Vic
Re: DIY - New Build Project
Heat stress management at its best.Rinso wrote: Nice to see everyone wearing thier PPE to ... thongs, singlets and shorts gotta love NQ


Re: DIY - New Build Project
Nah that was only half of the heat stress management, the other half was the beers afterwards to replenish lost fluids from sweatingkickinback wrote:
Heat stress management at its best.
Re: DIY - New Build Project
Yeah she is pretty good at helping at most things when I'm working around the house and is a good apprentice as you don't need to tell her the next thing you need she has the ability to see what you are going to do next or need and has it ready when you want it.curan wrote: I'm pretty impressed your missus got in there to lend a hand.
Re: DIY - New Build Project
Ok today I laminated the second half of the stock so it is all completed and ready for Tuesday when I will put it over a bandsaw to cut out the stock blanks. Also got in and made a start on the front and rear pods with the alloy.
The video shows the machining of the second side of the rear pod. I like to machine both sides of the alloy to give me a nice set of parallel surfaces to clamp in the vice for remainder of the machining of the pieces.
ISG08dK_buk&feature=youtu.be
The photos show the sides once completed on the first stage to make the sides parallel.
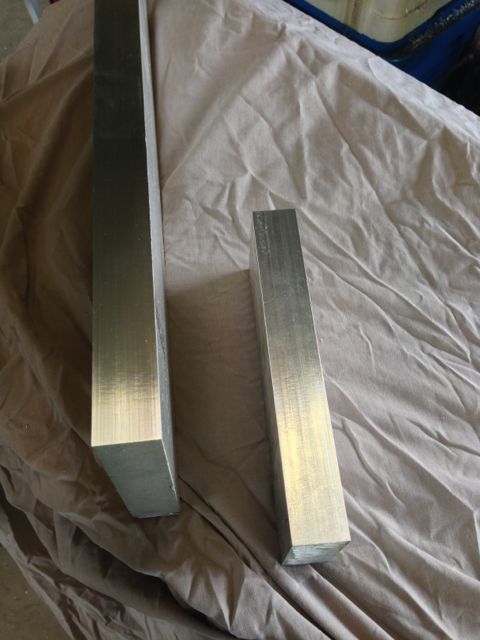
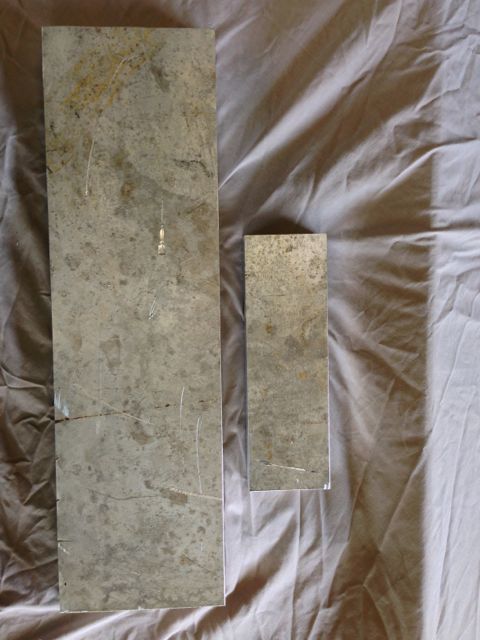
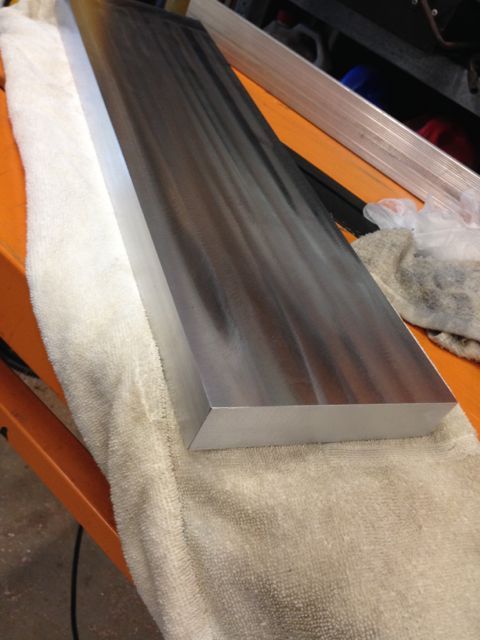
The last photo is after the front pod has been surfaced and ends squared up to provide me a nice square block.
The video shows the machining of the second side of the rear pod. I like to machine both sides of the alloy to give me a nice set of parallel surfaces to clamp in the vice for remainder of the machining of the pieces.
ISG08dK_buk&feature=youtu.be
The photos show the sides once completed on the first stage to make the sides parallel.


The last photo is after the front pod has been surfaced and ends squared up to provide me a nice square block.

- Camel
- Ultimate AusVarminter
- Posts: 12084
- Joined: Sat May 28, 2011 8:51 pm
- Favourite Cartridge: 20-222 6x47 rem, 250
- Location: Northern Riverina NSW
Re: DIY - New Build Project
I think I would like to have a milling machine for Christmas, please Santa. 
Re: DIY - New Build Project
Camel the mills are a great machine if you can get one........ the question for santa is have you been naughty or nice 


I have only had mine a couple of months and since 2007 when I started playing in building my own gear I used to travel a bit over 100kms to use a mates up till now. That was fine except I had to plan for a whole day there given the travel distance which then had to fit in with the family commitments and when he wasn't using it (it is part of his business) made it slow to get things built. Over time I saved my pennies to get one of my own. Now I can go and do bits and pieces when ever I get a chance or have a spare hour which makes things happen a lot faster
I have only had mine a couple of months and since 2007 when I started playing in building my own gear I used to travel a bit over 100kms to use a mates up till now. That was fine except I had to plan for a whole day there given the travel distance which then had to fit in with the family commitments and when he wasn't using it (it is part of his business) made it slow to get things built. Over time I saved my pennies to get one of my own. Now I can go and do bits and pieces when ever I get a chance or have a spare hour which makes things happen a lot faster
Re: DIY - New Build Project
Got in and did a bit more on the front and back alloy pods today. The photos show progress so far and a quick weigh of them had them tipping 7.6kg to will probably finish about 7kg once all said and done.
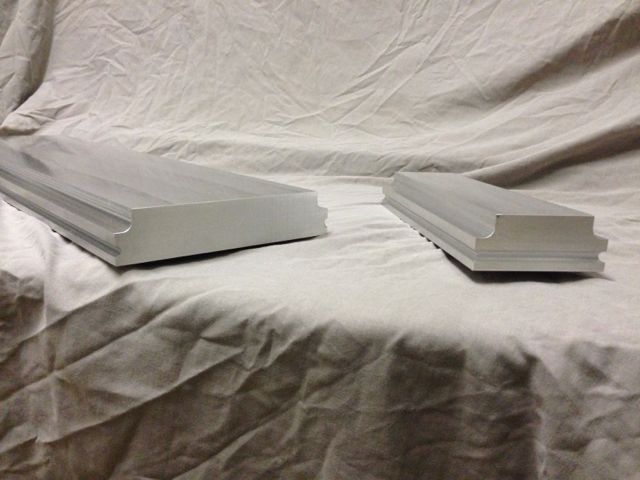
Front pod showing what is still to be removed. Once removed this will leave a couple of rails to ride on.
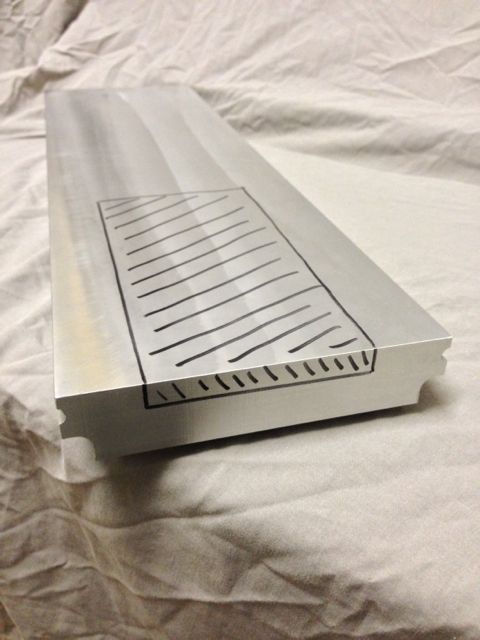
Rear pod showing what is still to be removed to create the rails and what it will look like in a bag.
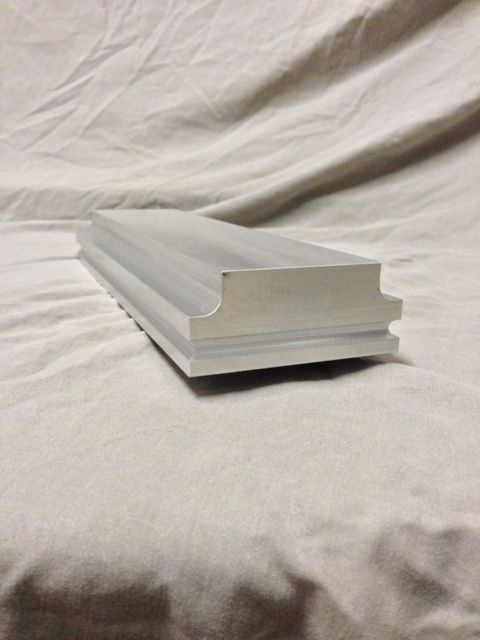
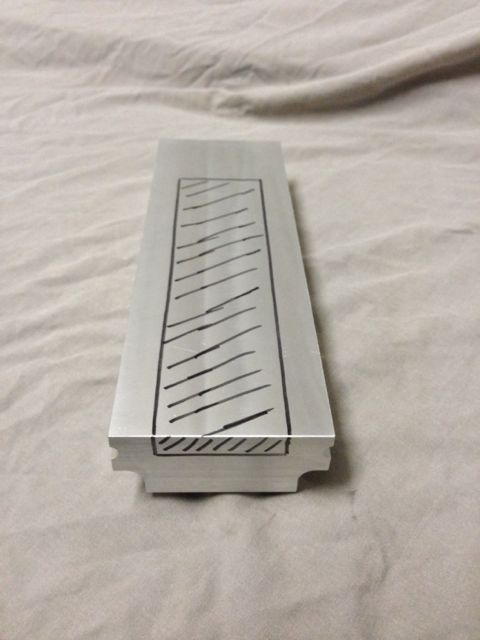
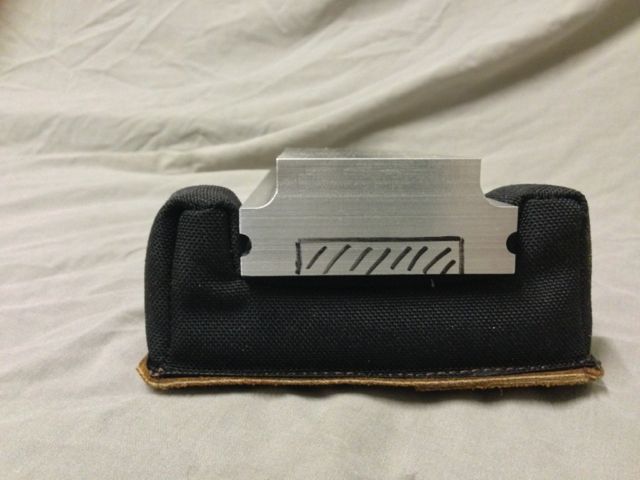

Front pod showing what is still to be removed. Once removed this will leave a couple of rails to ride on.

Rear pod showing what is still to be removed to create the rails and what it will look like in a bag.


Re: DIY - New Build Project
Ok so did a road trip this morning to see a bloke about running my laminated stock blank over his bandsaw and now I have my rough shaped blanks.
Looks like everything glued up good. Now to start working on shaping it into something that looks like a HG.
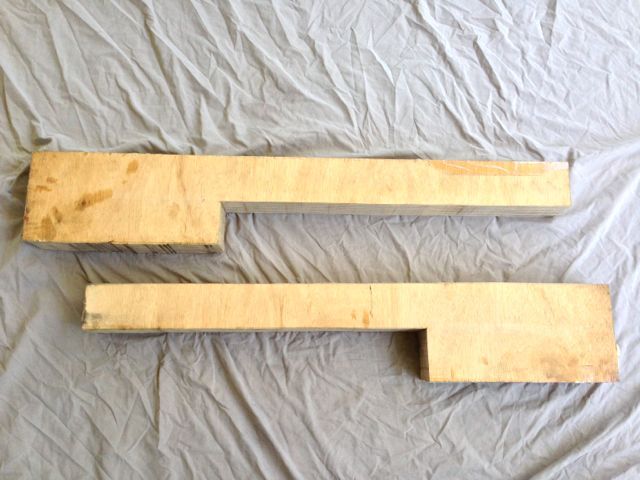
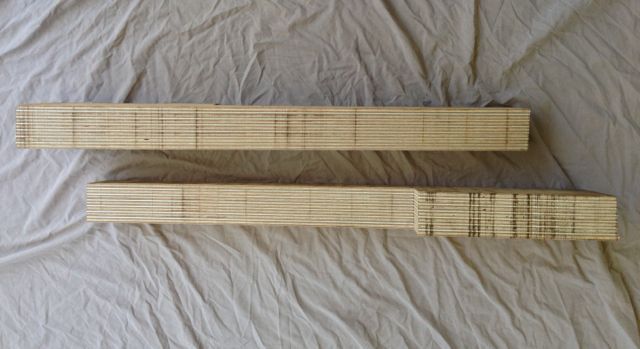
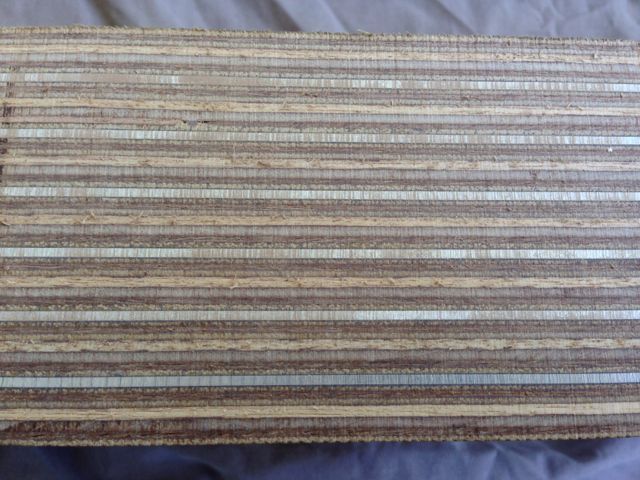
Looks like everything glued up good. Now to start working on shaping it into something that looks like a HG.


- aaronraad
- .17 HMR
- Posts: 203
- Joined: Sat Dec 24, 2011 11:19 am
- Favourite Cartridge: Solid head brass :)
- Location: Qld
- Contact:
Re: DIY - New Build Project
That looks very promising!
Dare I say, I'm almost excited. I must be, I starting to think about anodising the Al and staining the laminate different colours.
Dare I say, I'm almost excited. I must be, I starting to think about anodising the Al and staining the laminate different colours.
Re: DIY - New Build Project
A couple more piccy's to show the blanks beside the plug from my offset LG stock.
Overall length is a smidge over 900mm for the shorter one and 950mm for the longer one which was the best cut out method which gave me another square piece that I may use in the future as a LG or Fclass stock chassis

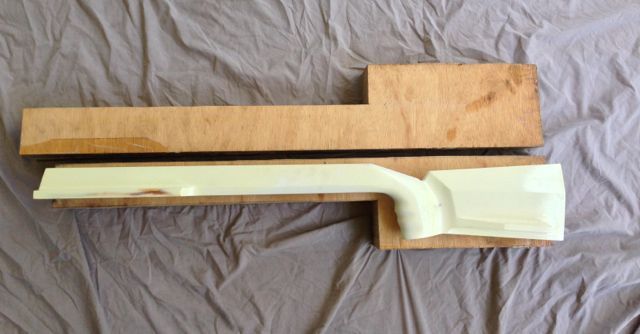
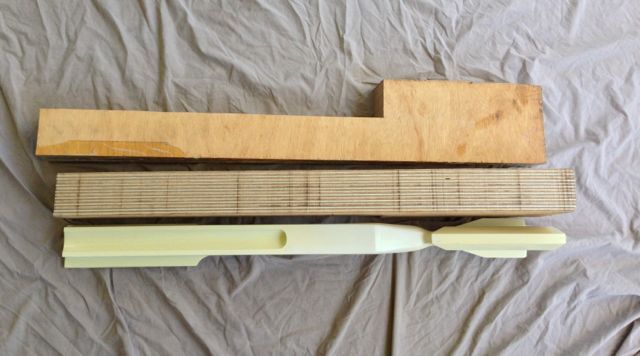
Overall length is a smidge over 900mm for the shorter one and 950mm for the longer one which was the best cut out method which gave me another square piece that I may use in the future as a LG or Fclass stock chassis


-
B4408
- .270 Winchester
- Posts: 1270
- Joined: Sat Aug 31, 2013 6:49 am
- Favourite Cartridge: 20VT
- Location: Mid North Coast, NSW
Re: DIY - New Build Project
Now I see what your trying to achieve. Really interesting build, thanks for showing us and keep the pics coming.
I guess a hand plane and spoke shave wont quite cut it on this job.

Bruce
I guess a hand plane and spoke shave wont quite cut it on this job.
Bruce
