First Knife from scratch
Posted: Mon Aug 05, 2019 8:58 pm
Thought I would chuck up a couple of pics/progress of my first knife from scratch and some of the associated bits of kit I've made along the way.
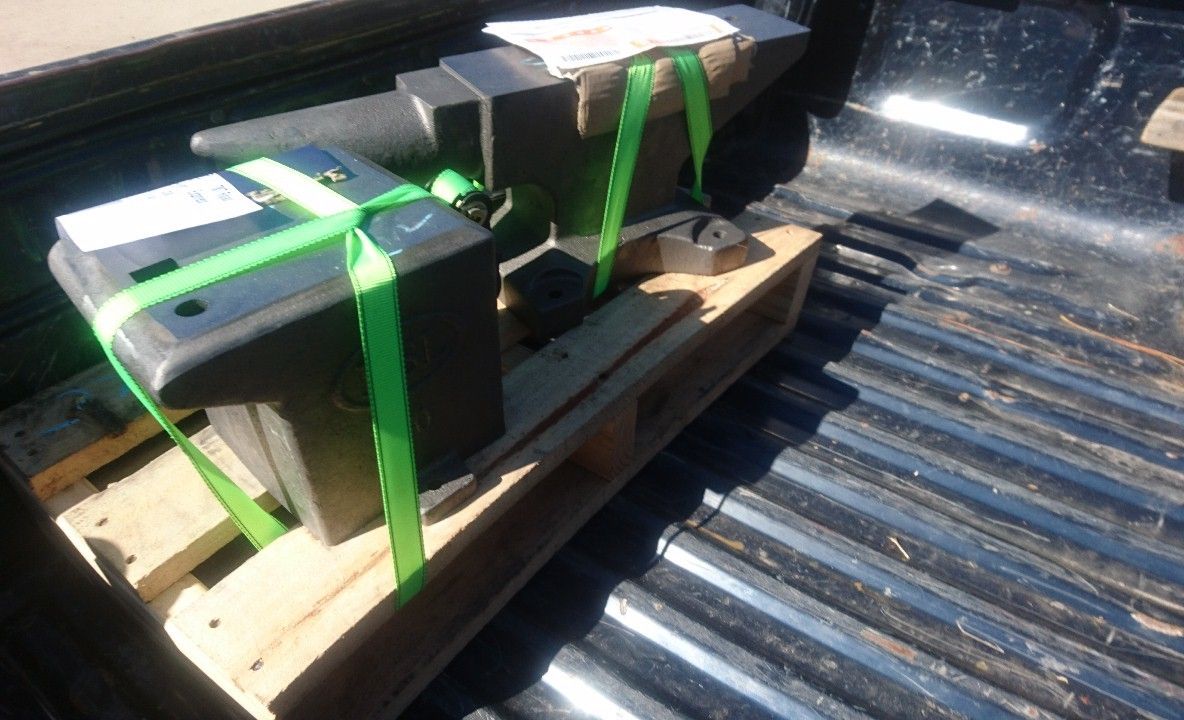
I have been wanting to do this for ages but just never got around to it until my cousins husband who I hunt with asked me if I could make him a decent hunting knife. I told him I can make him a hunting knife, not sure about a decent one He is the kind of bloke who I know wouldn't take the extra time/effort to look after a carbon steel knife so I did some reading into which stainless steels can be heat treated easily at home and it looked like Sandvik 12c27 was one of the easier ones as well as being readily available and relatively cheap as far as knife steels go so I ordered some from Gameco/Artisan supplies. I would also need something to heat treat the steel which requires temps around 1000C so I also ordered their 9kg gas bottle forge kit which has a gas burner, regulator, high heat insulation and refractory to turn a 9kg gas cylinder into a gas forge capable of heat treating steel as well as being able to get hot enough to forge weld steel aka san mai/damascus /pattern welded steels (another potential project I'm sure).
While all that was in the post I rummaged through the scrap steel bin at work and acquired everything I needed including a 9kg gas bottle. Anyway I got stuck in and made the forge without taking any photos but anyone thinking of doing something similar there are a couple of good videos on youtube showing the process.
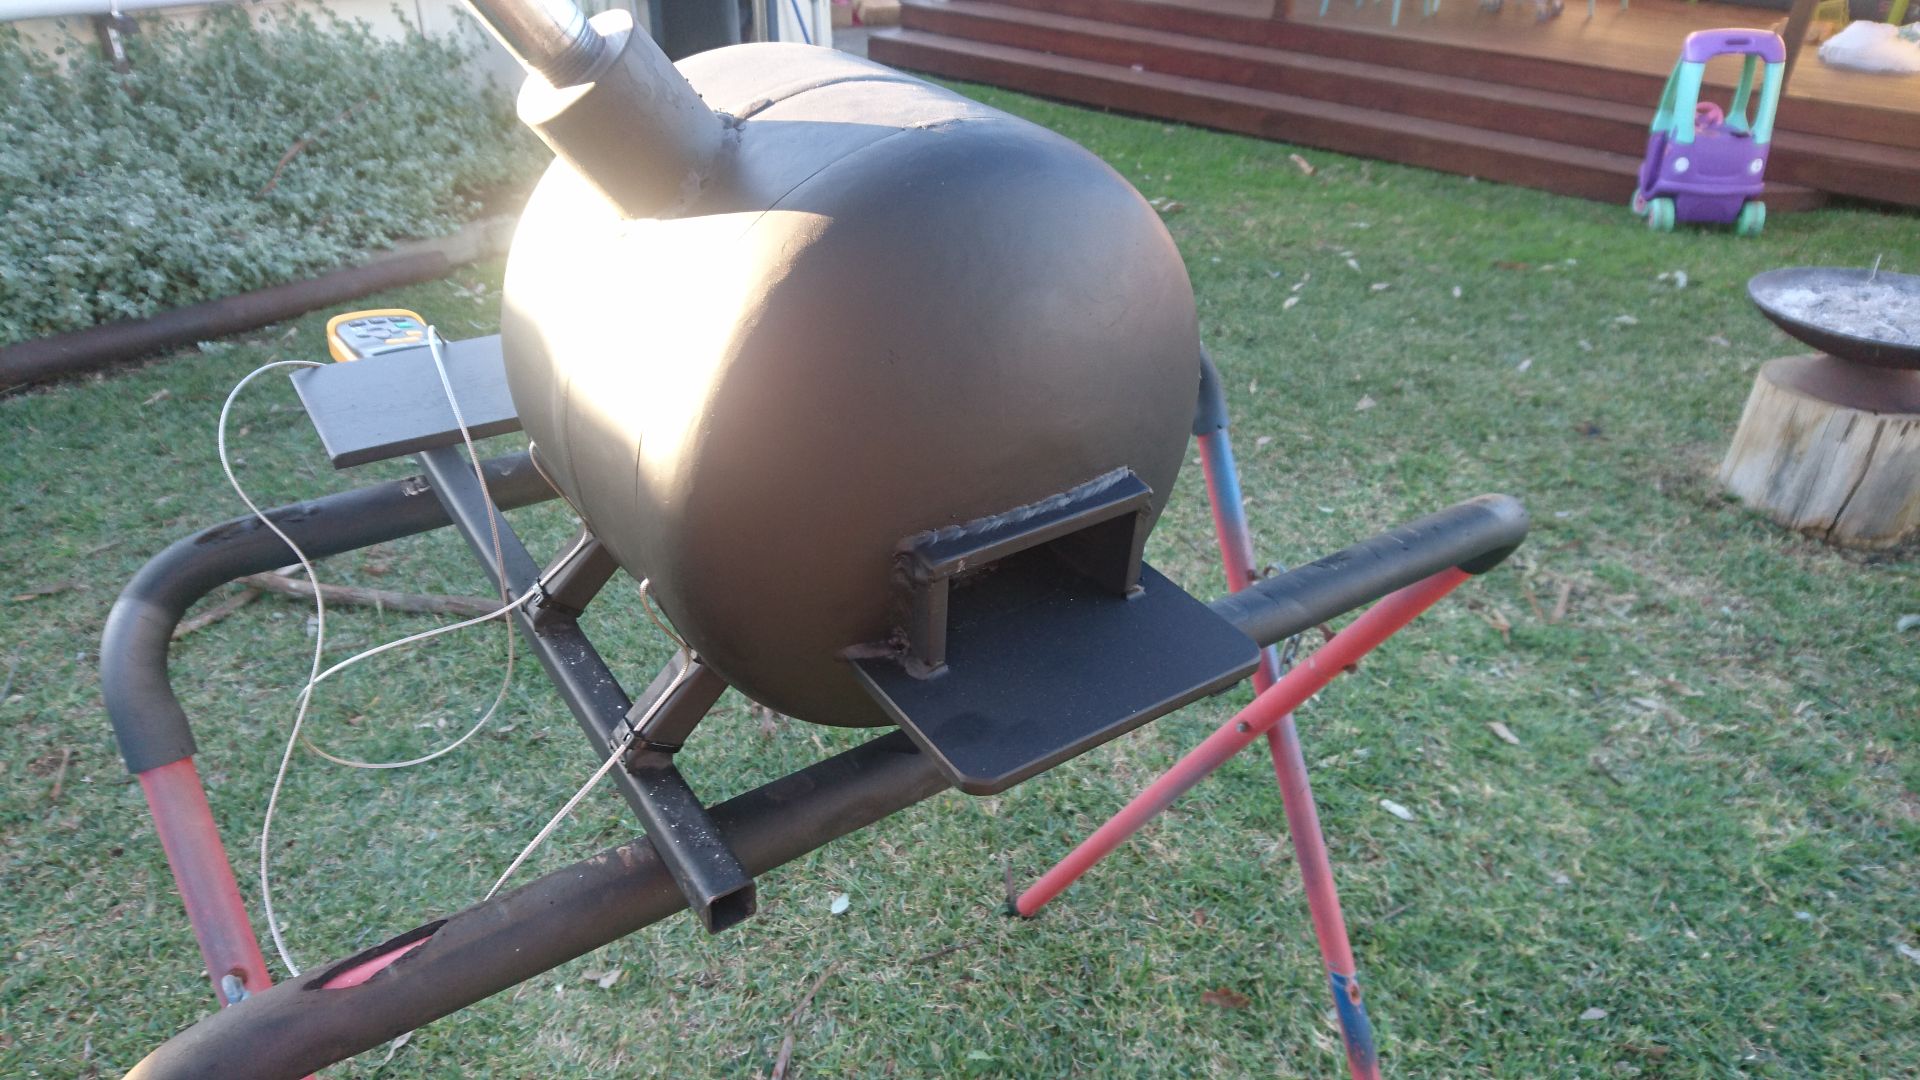
These pics are of the first series of firing starting at a few short bursts for the burner letting it cool in-between and letting it get hotter each time to drive off the moisture and cure the refractory without majorly cracking it. I also purchased a digital temp meter and high temp thermocouples which i inserted through the side of the forge.
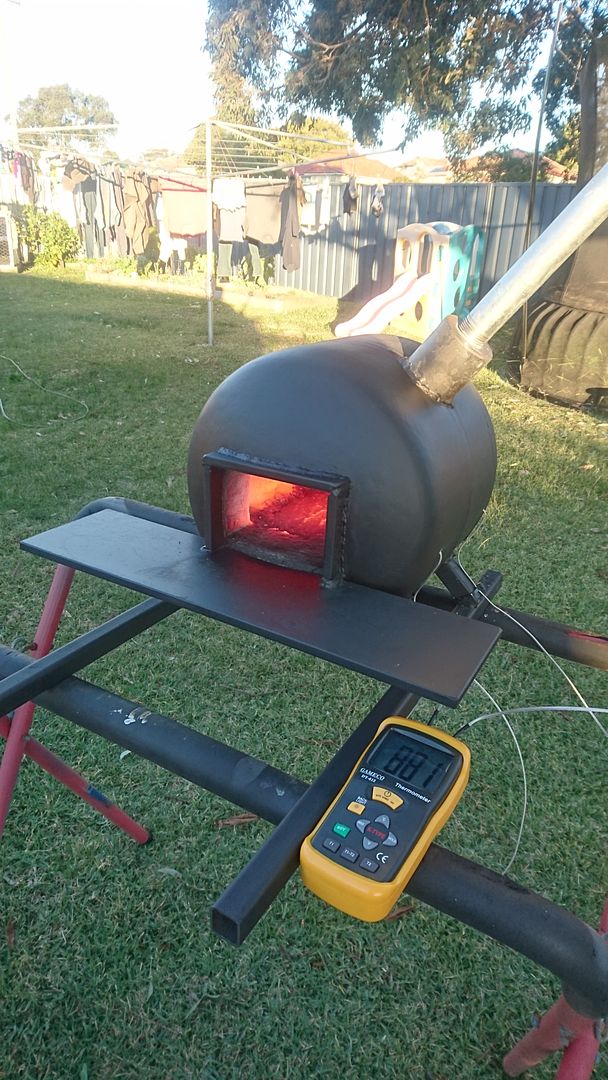
Also a hole in the back in case I want to make anything longer
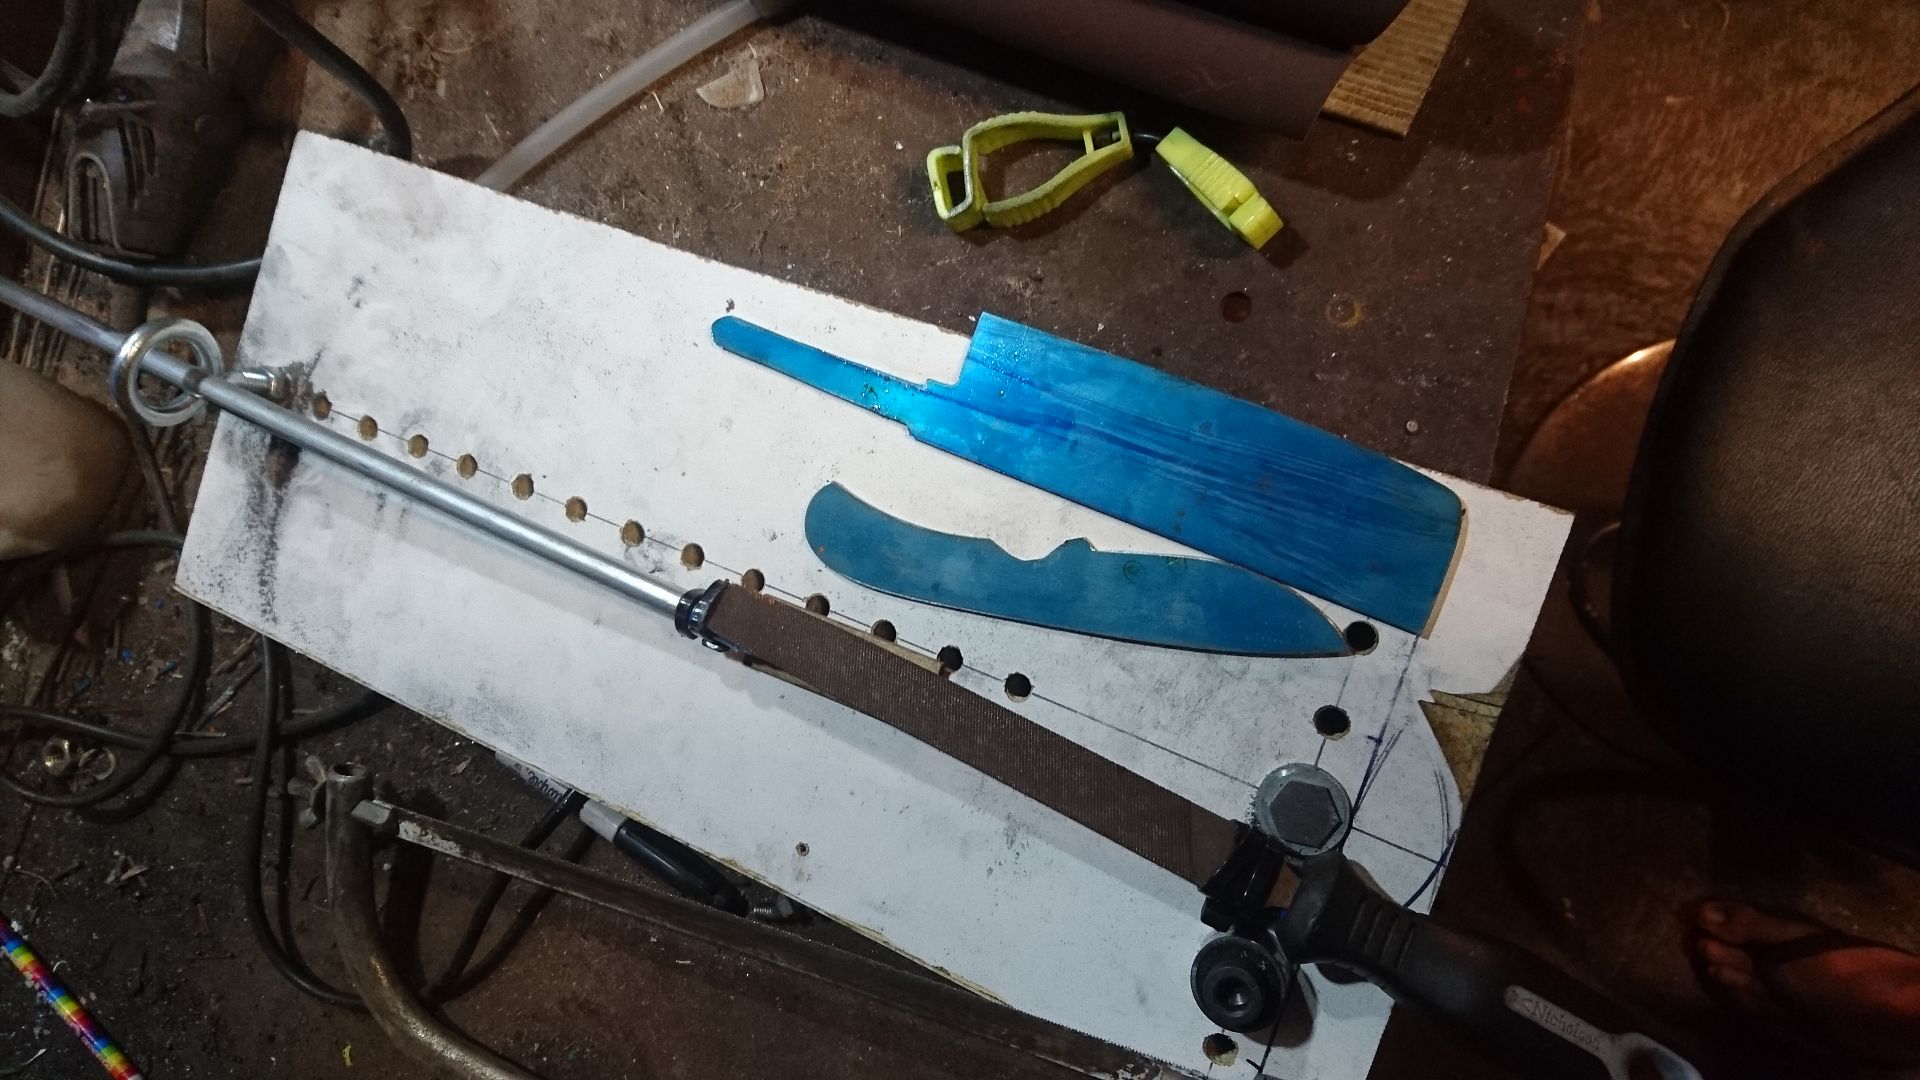
Started off looking at the internet for drop point hunter designs and sketched out something on paper then when i was happy with the shape i cut out a thin plywood template to see how it felt in the hand and used that to transfer the design onto the bar of 12c27 which i think is 3.25mm thick and then cut out with a grinder and shaped on the linisher.
I then started the bevels using a hand file jig i knocked up from design i found on the net. Also knife number 2 blank cut out and in the que (japanese style Nakiri - vegetable knife). Knife was taken down to 1mm at the blade edge, not sure if this is too thick/thin though.
Holes marked out and drilled for handle pins before hardening
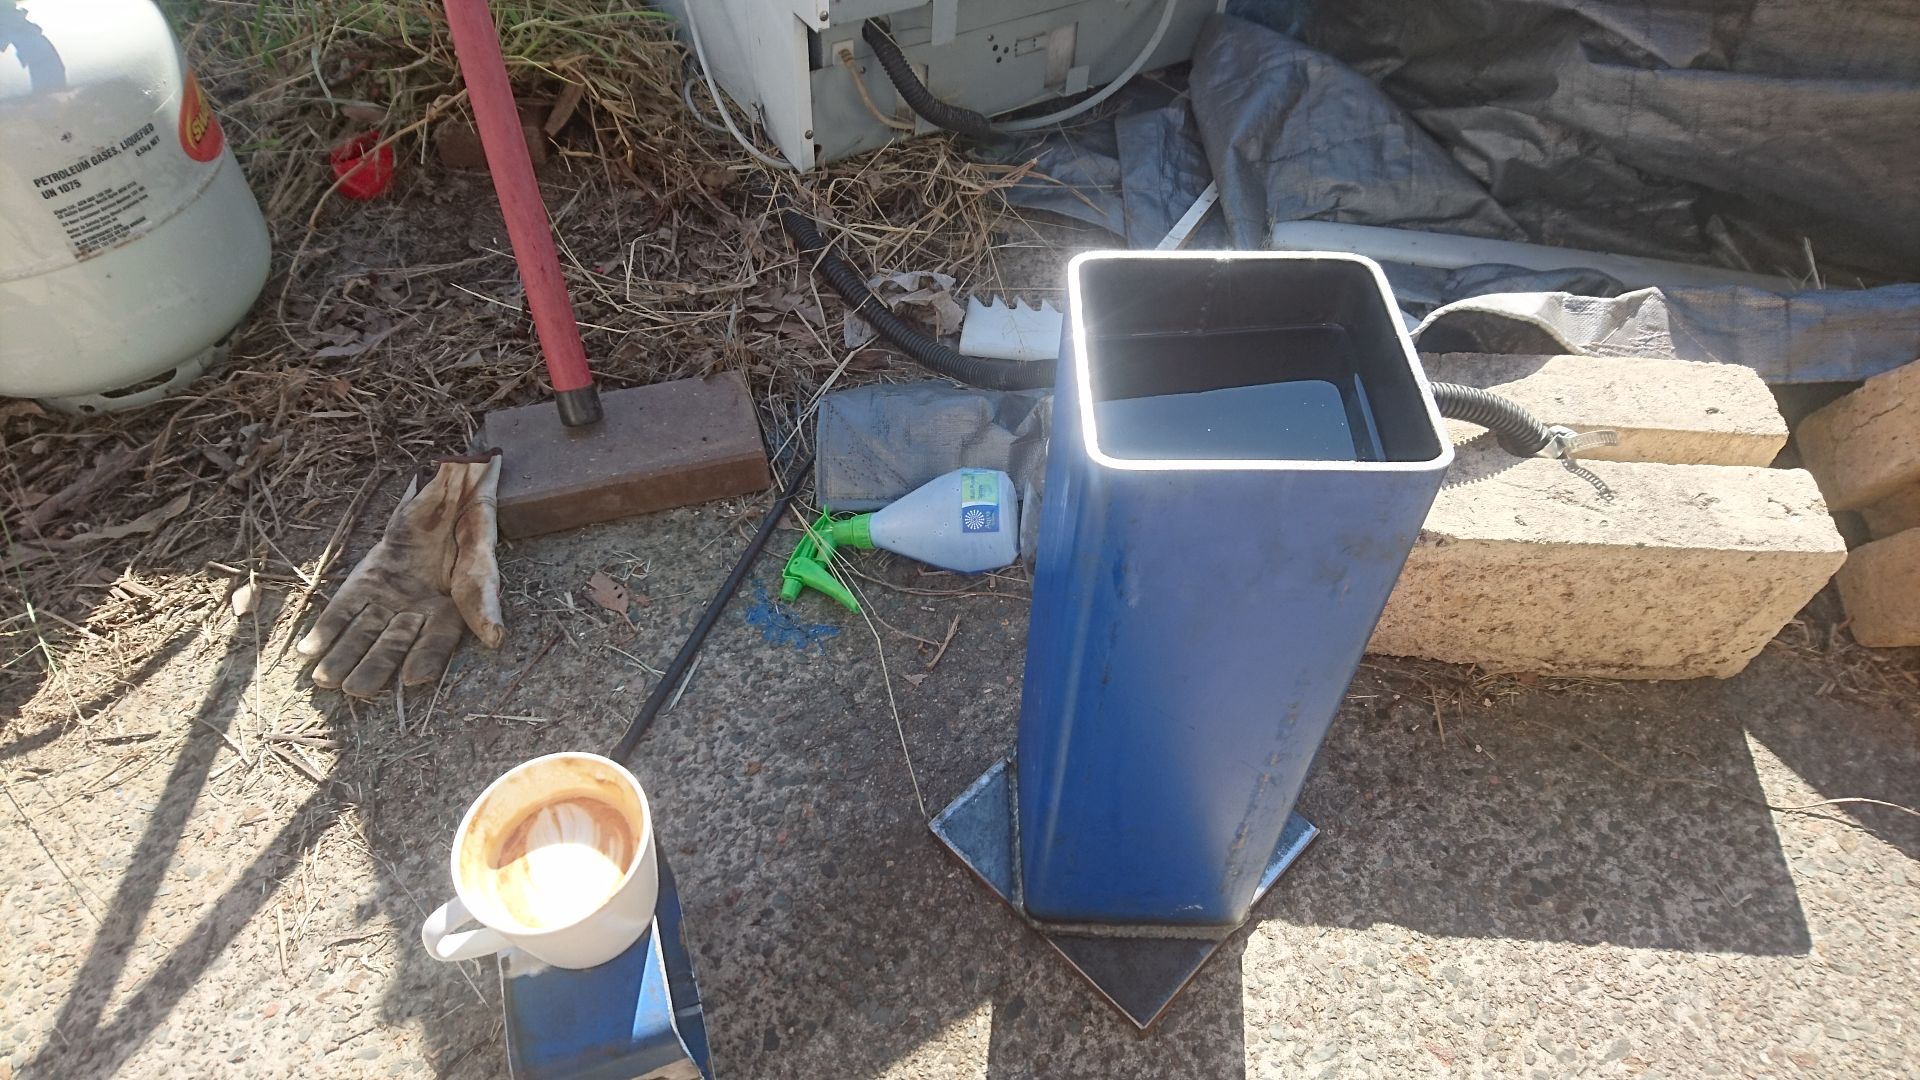
Oil quench tank made from salvaged steel holds about 8L of canola oil
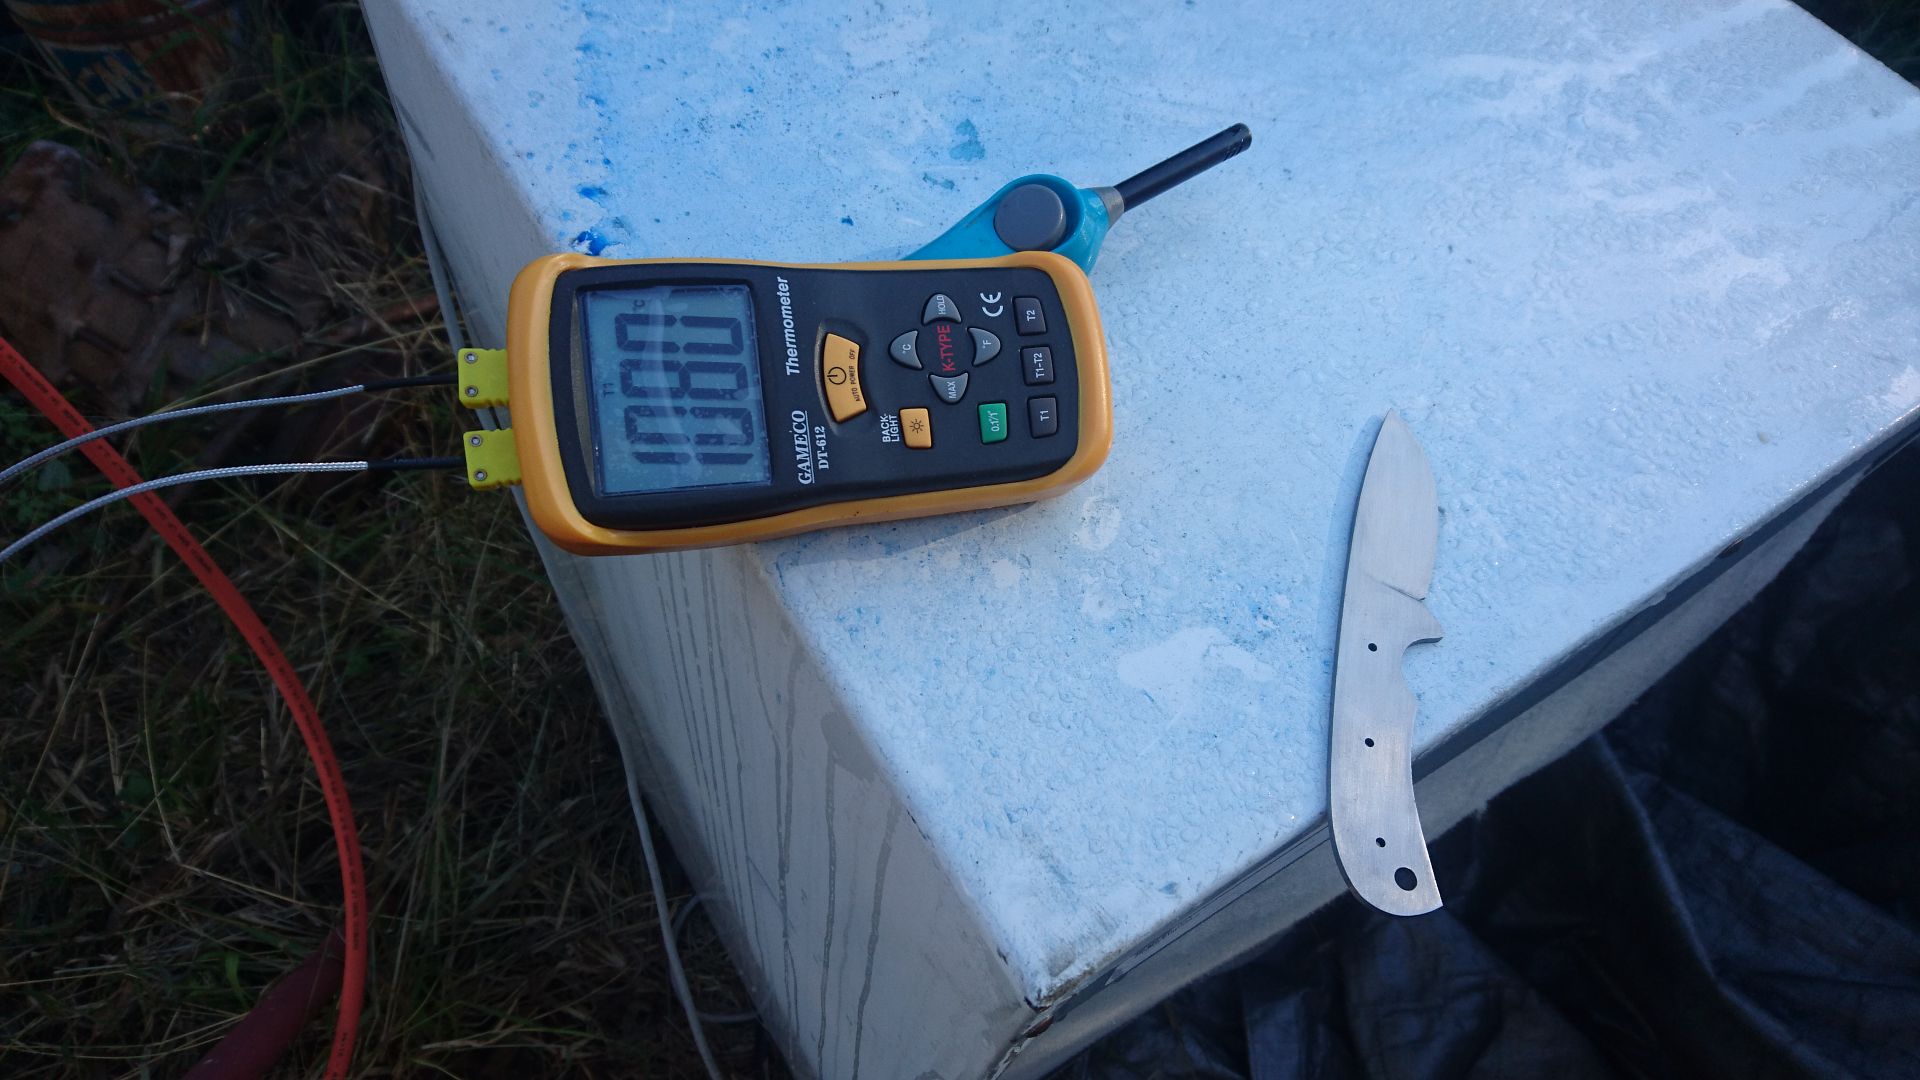
The forge was heated up and held at 1080C then blade went in for 6mins, pulled out and then quenced in the oil. All went well, I think, no warps or cracks then into the freezer to chill out for a few hours. My wife just shakes her head these days and mutters something like 'i'm not even going to ask what your doing now'
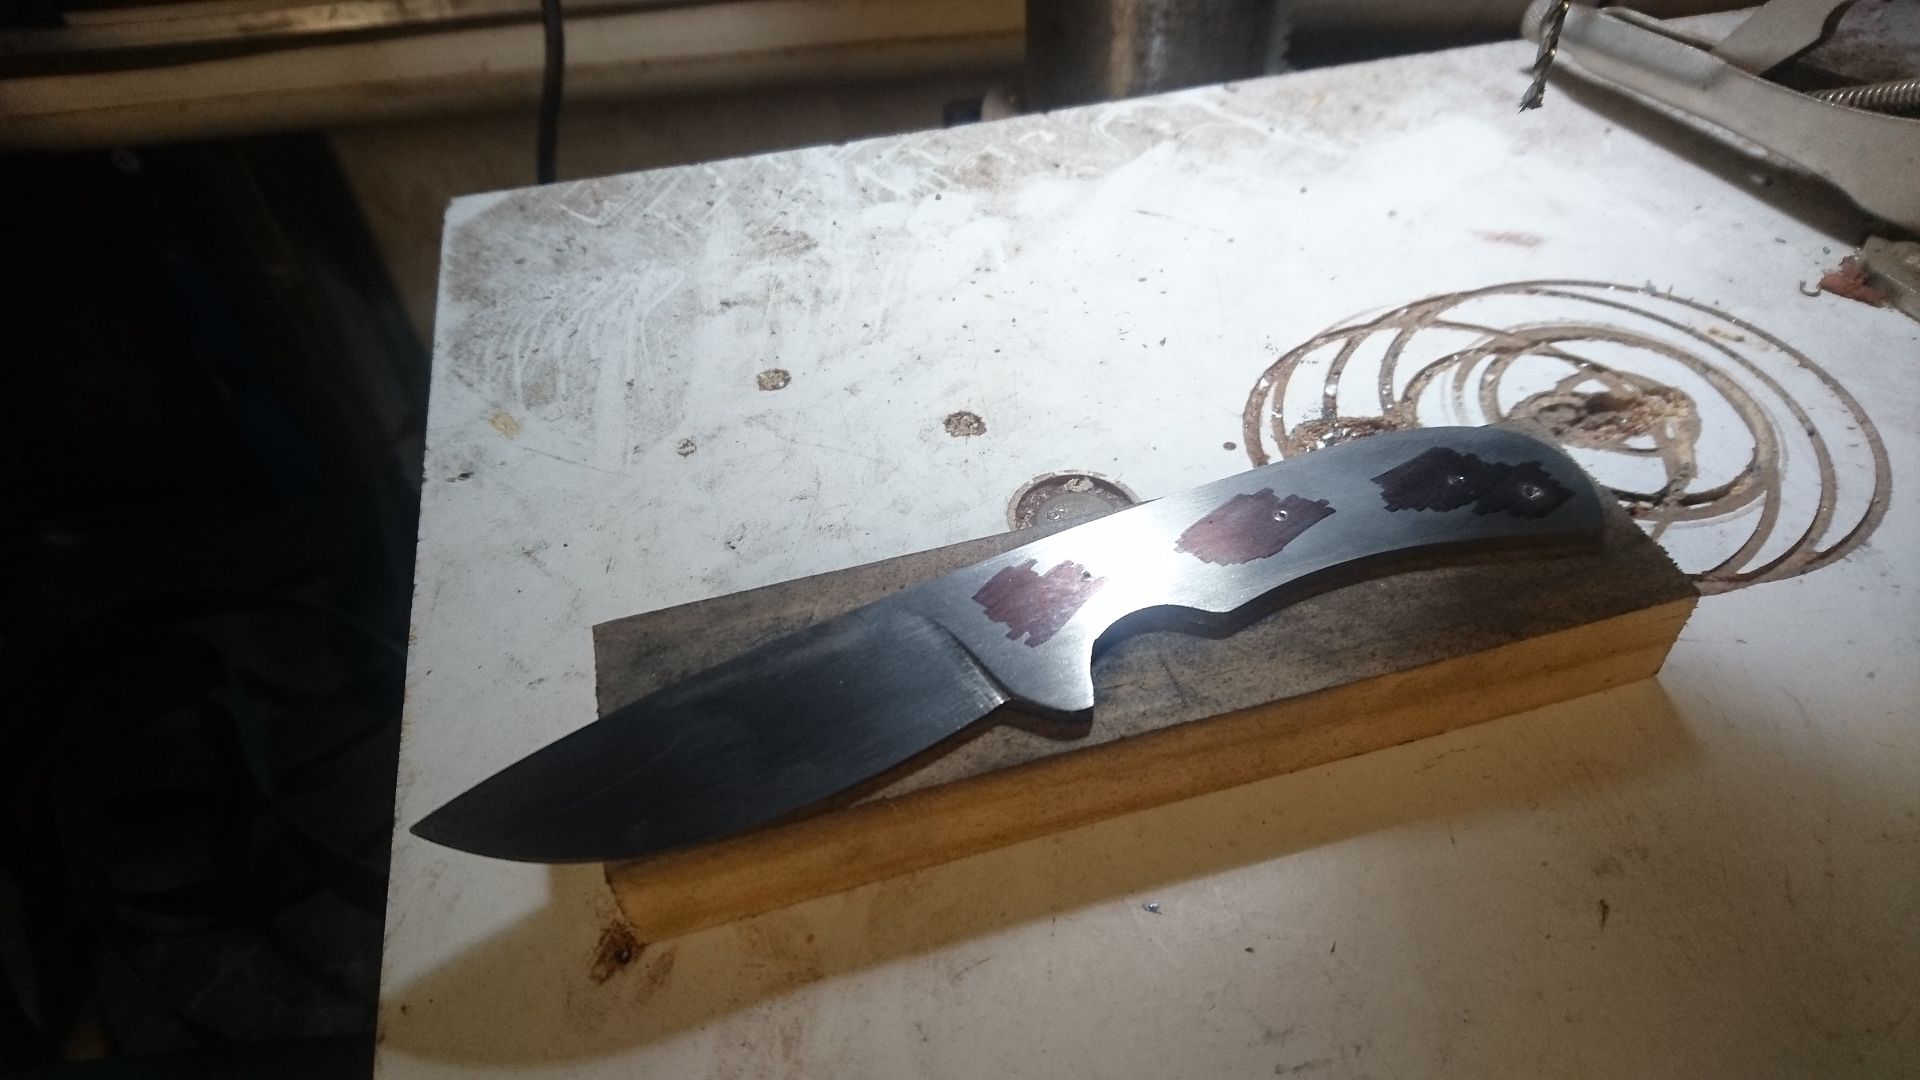
Knife ready for heat treat
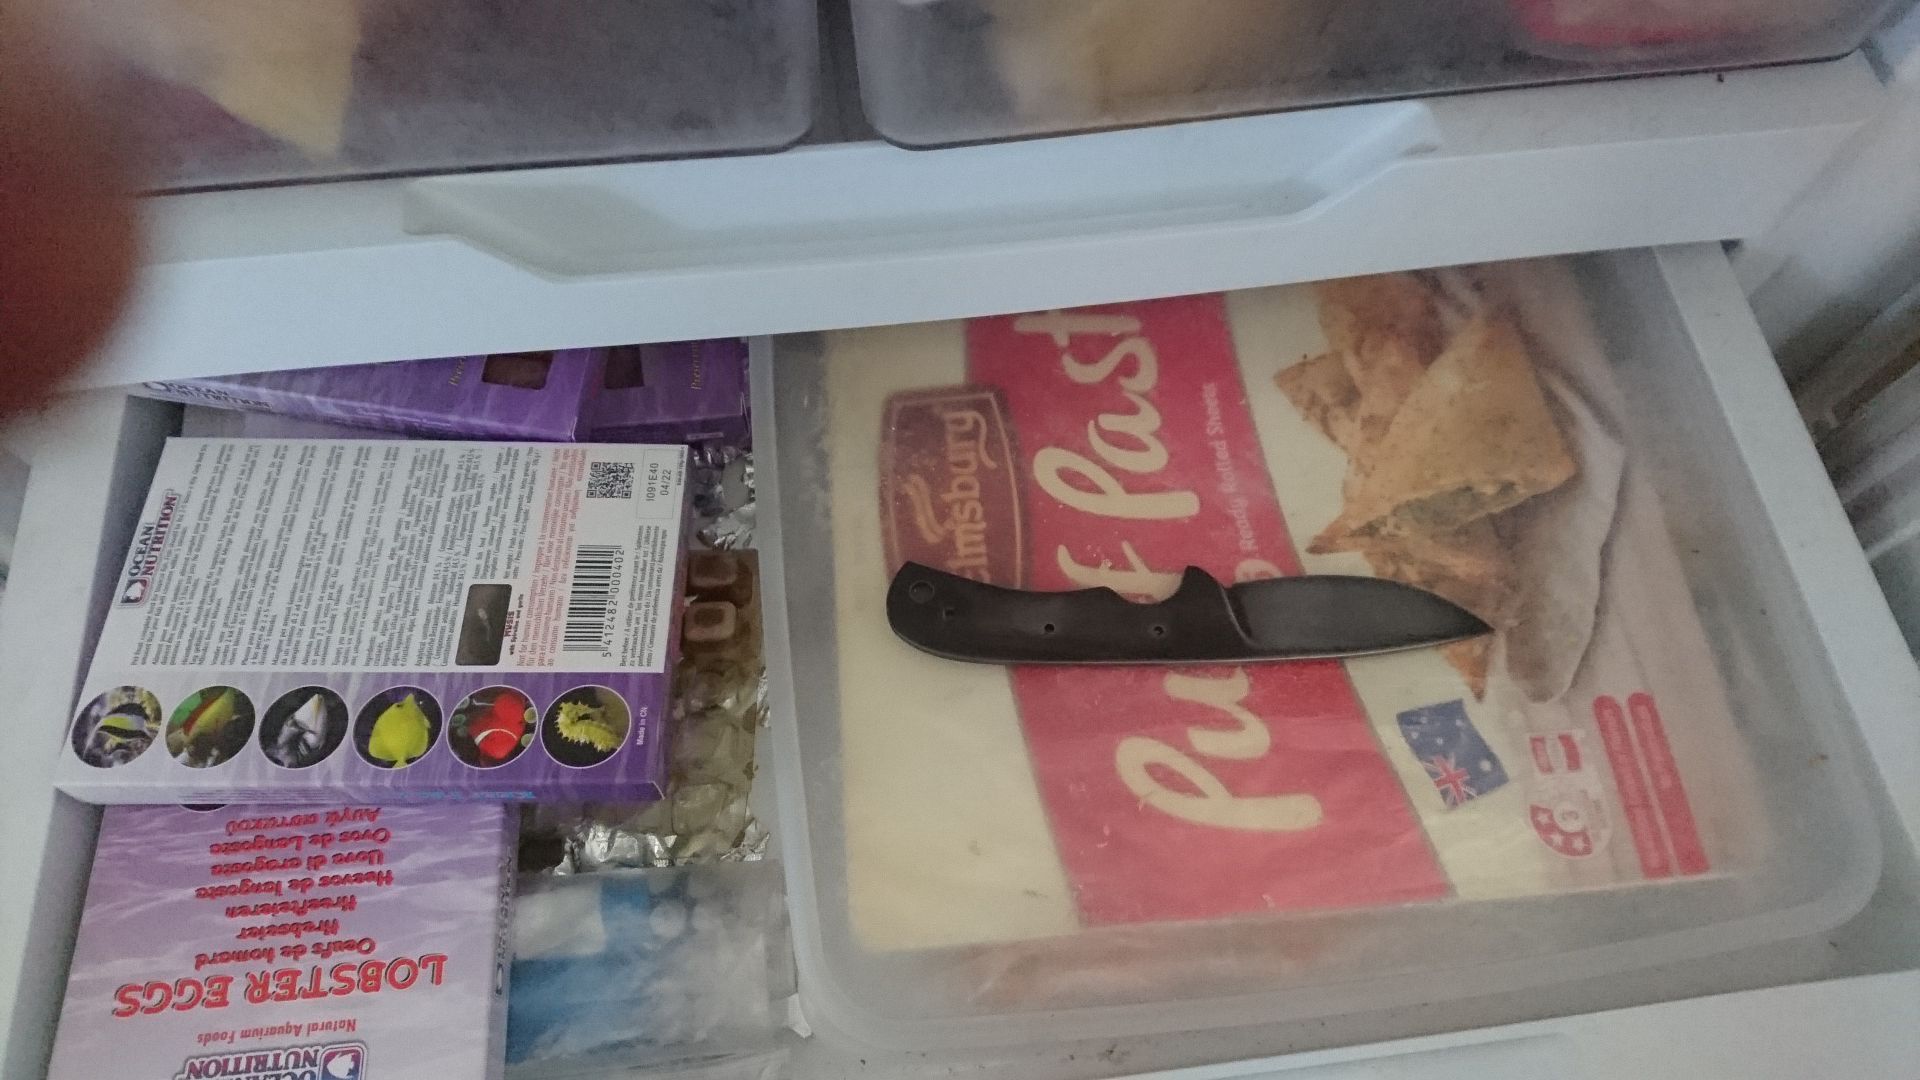
Knife chillin
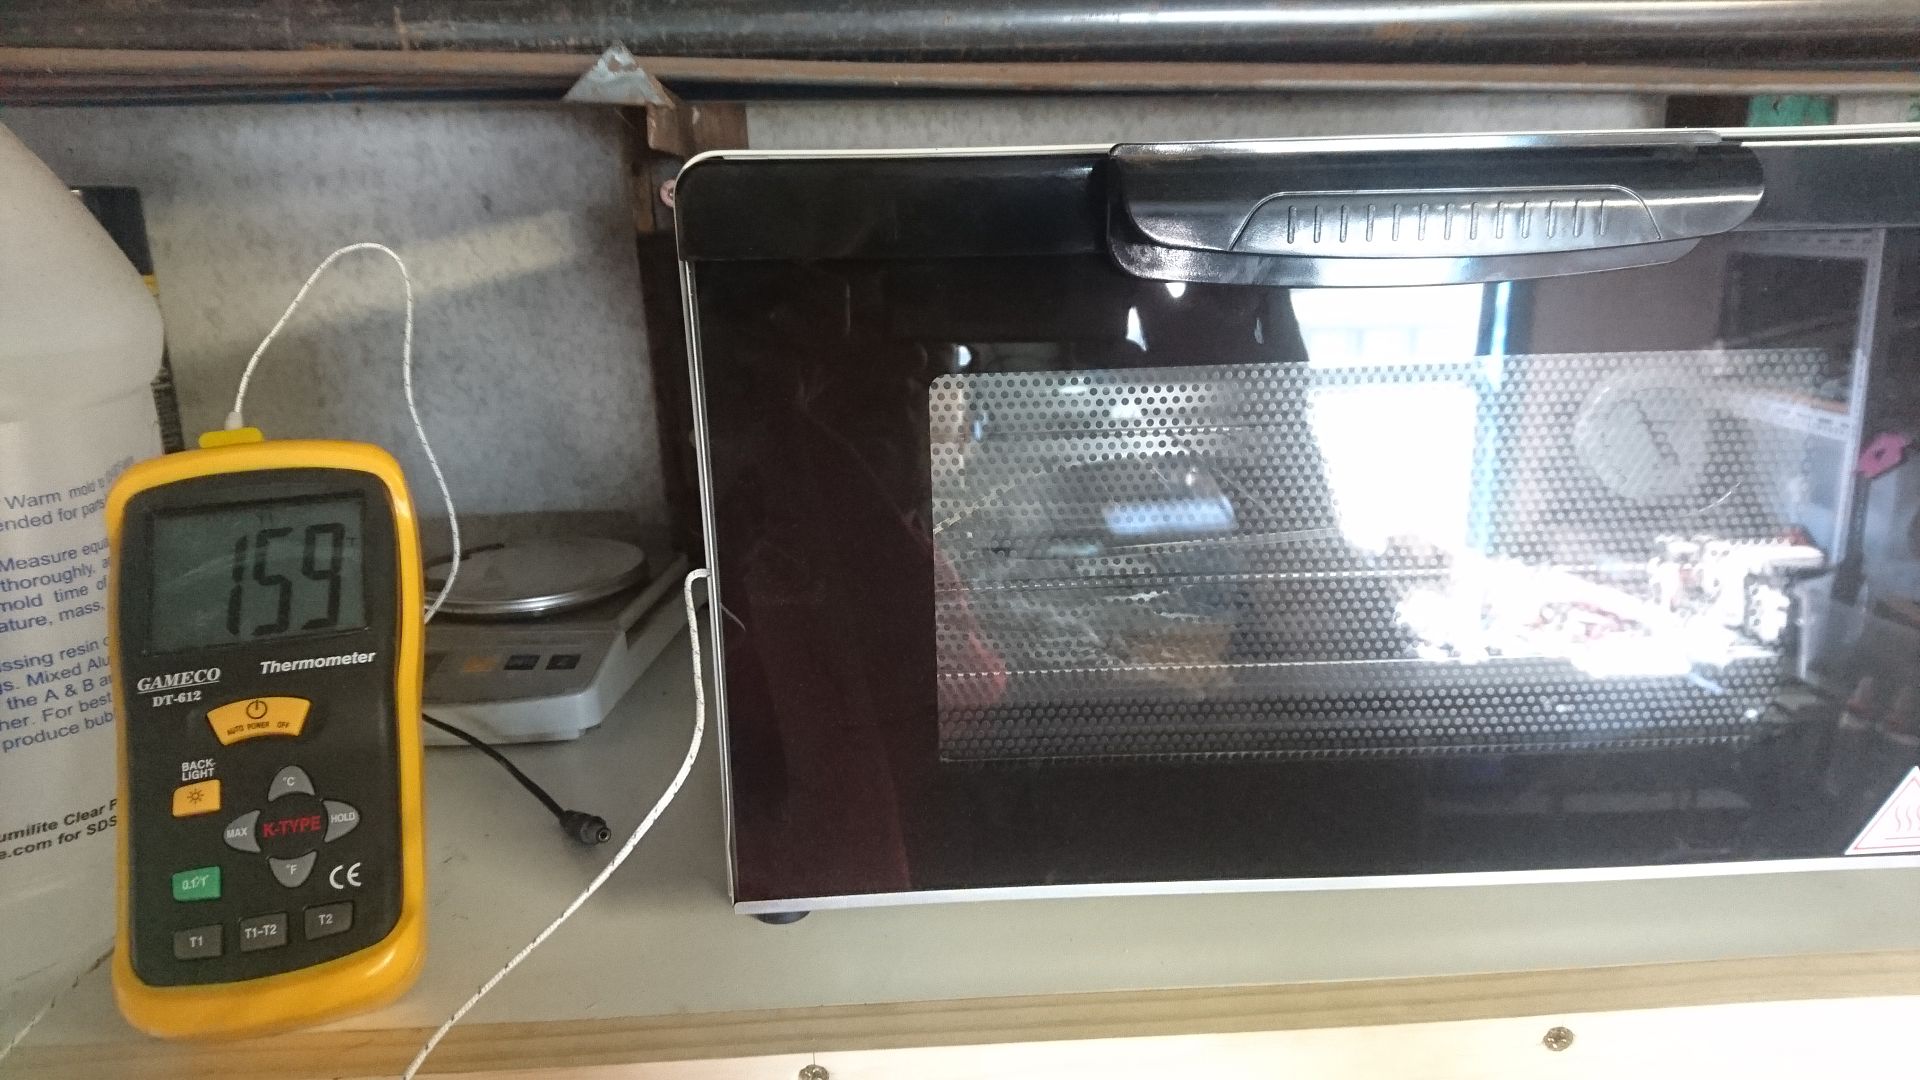
At this stage the blade is hard, too hard and brittle to be of any use so it gets tempered to soften the blade slightly. 160c for and hour then cool to room temp and repeat. I have a little toaster oven in my shed for drying timber, setting stabilised wood and now tempering knives that did the job nicely.
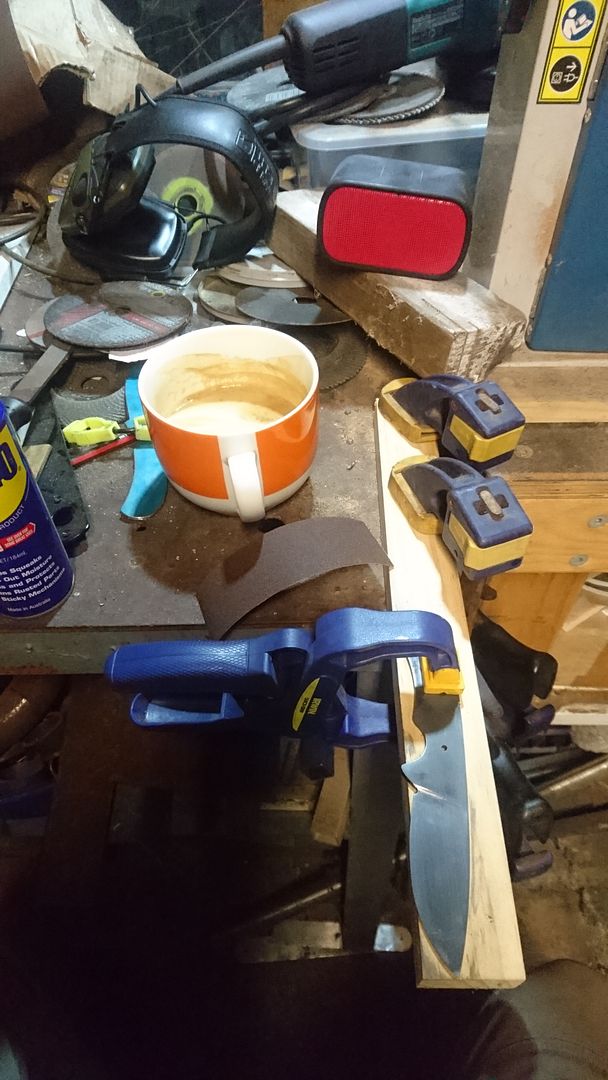
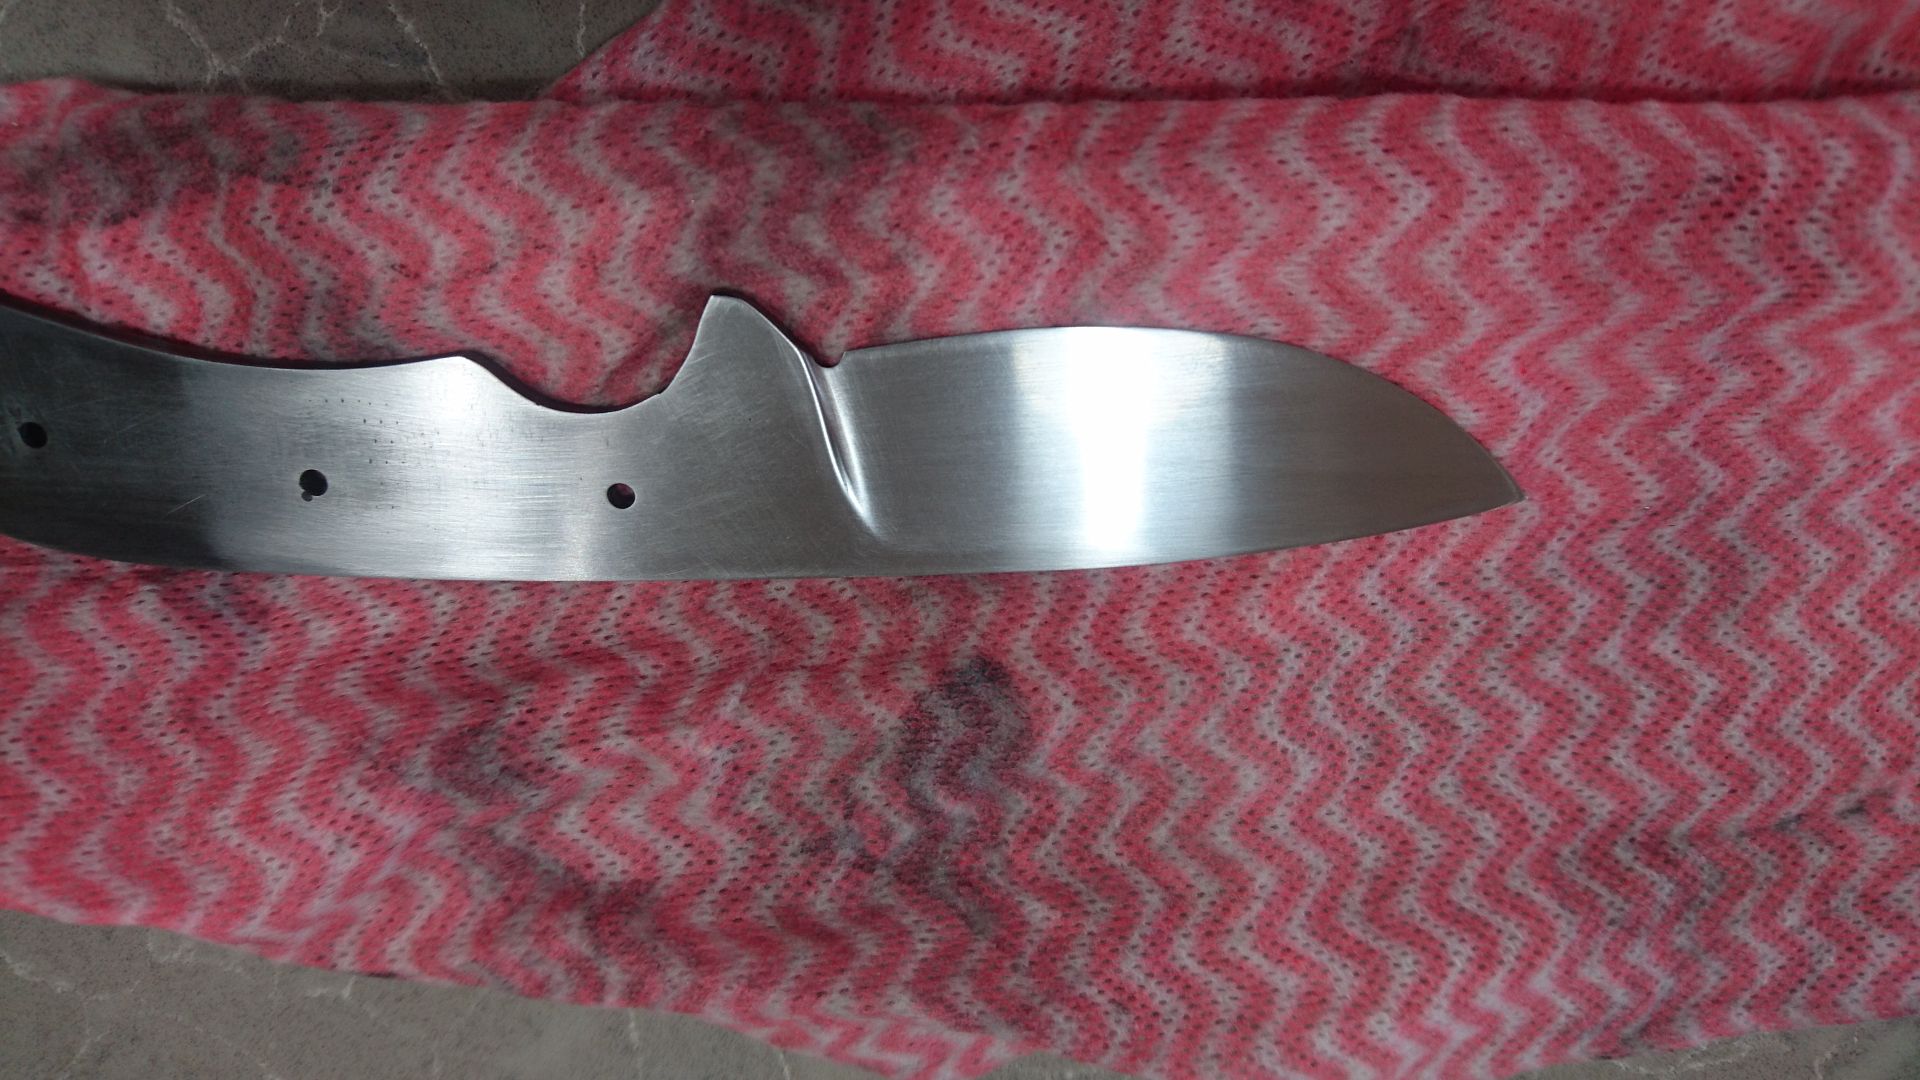
I finished up the grinds freehand on the linisher to 240 grit and then onto hand sanding all the way 1200 grit Not perfect by any stretch of the imagination but acceptable and mostly stuff that most others wouldn't notice.
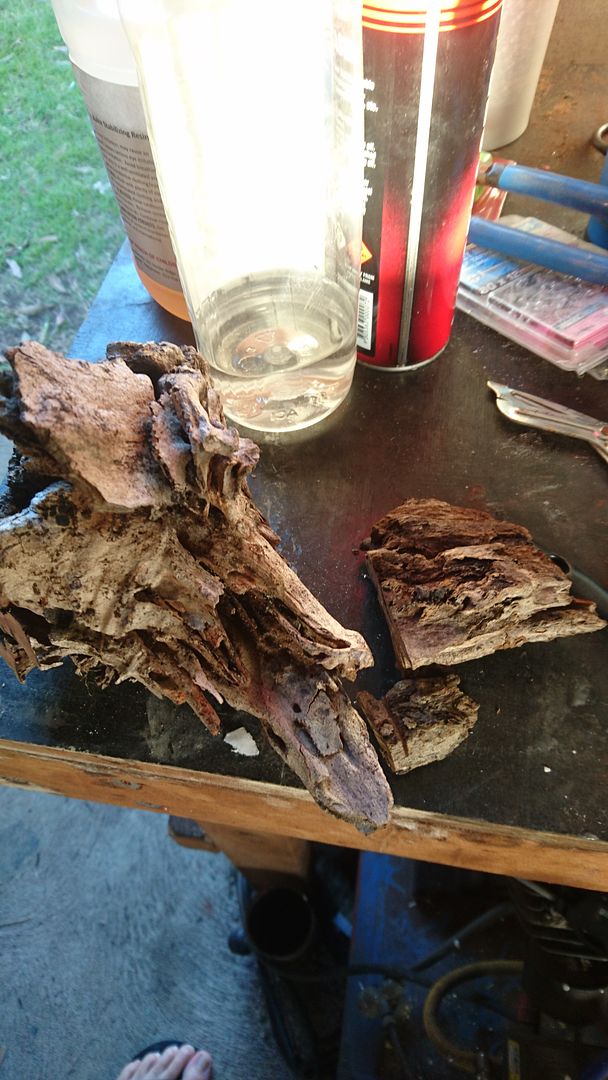
Next up was to sort out something for the handle. I have a bunch of burl and resin hybrid handles to choose from as well as some nice figured timbers but I thought I would go all sentimental on this one and use a piece of rotted wood i picked up a year or 2 ago from the farm we hunt on which is owned by my uncle and knife recipients father in law. Cut a piece off, hosed it off really well to get rid of the dirt and lose bits then into the oven to dry for a few hours
Then into a product called cactus juice which is a thin resin that is cured at 70C but to get the resin to soak in the wood the wood is put into a container then covered in the cactus juice and wood weighted down with some thick steel washers to stop it floating and the whole lot goes into a vacuum chamber which essentially sucks all the air out of the wood, this piece of wood was under vacuum for 2 days before it stopped bubbling away.
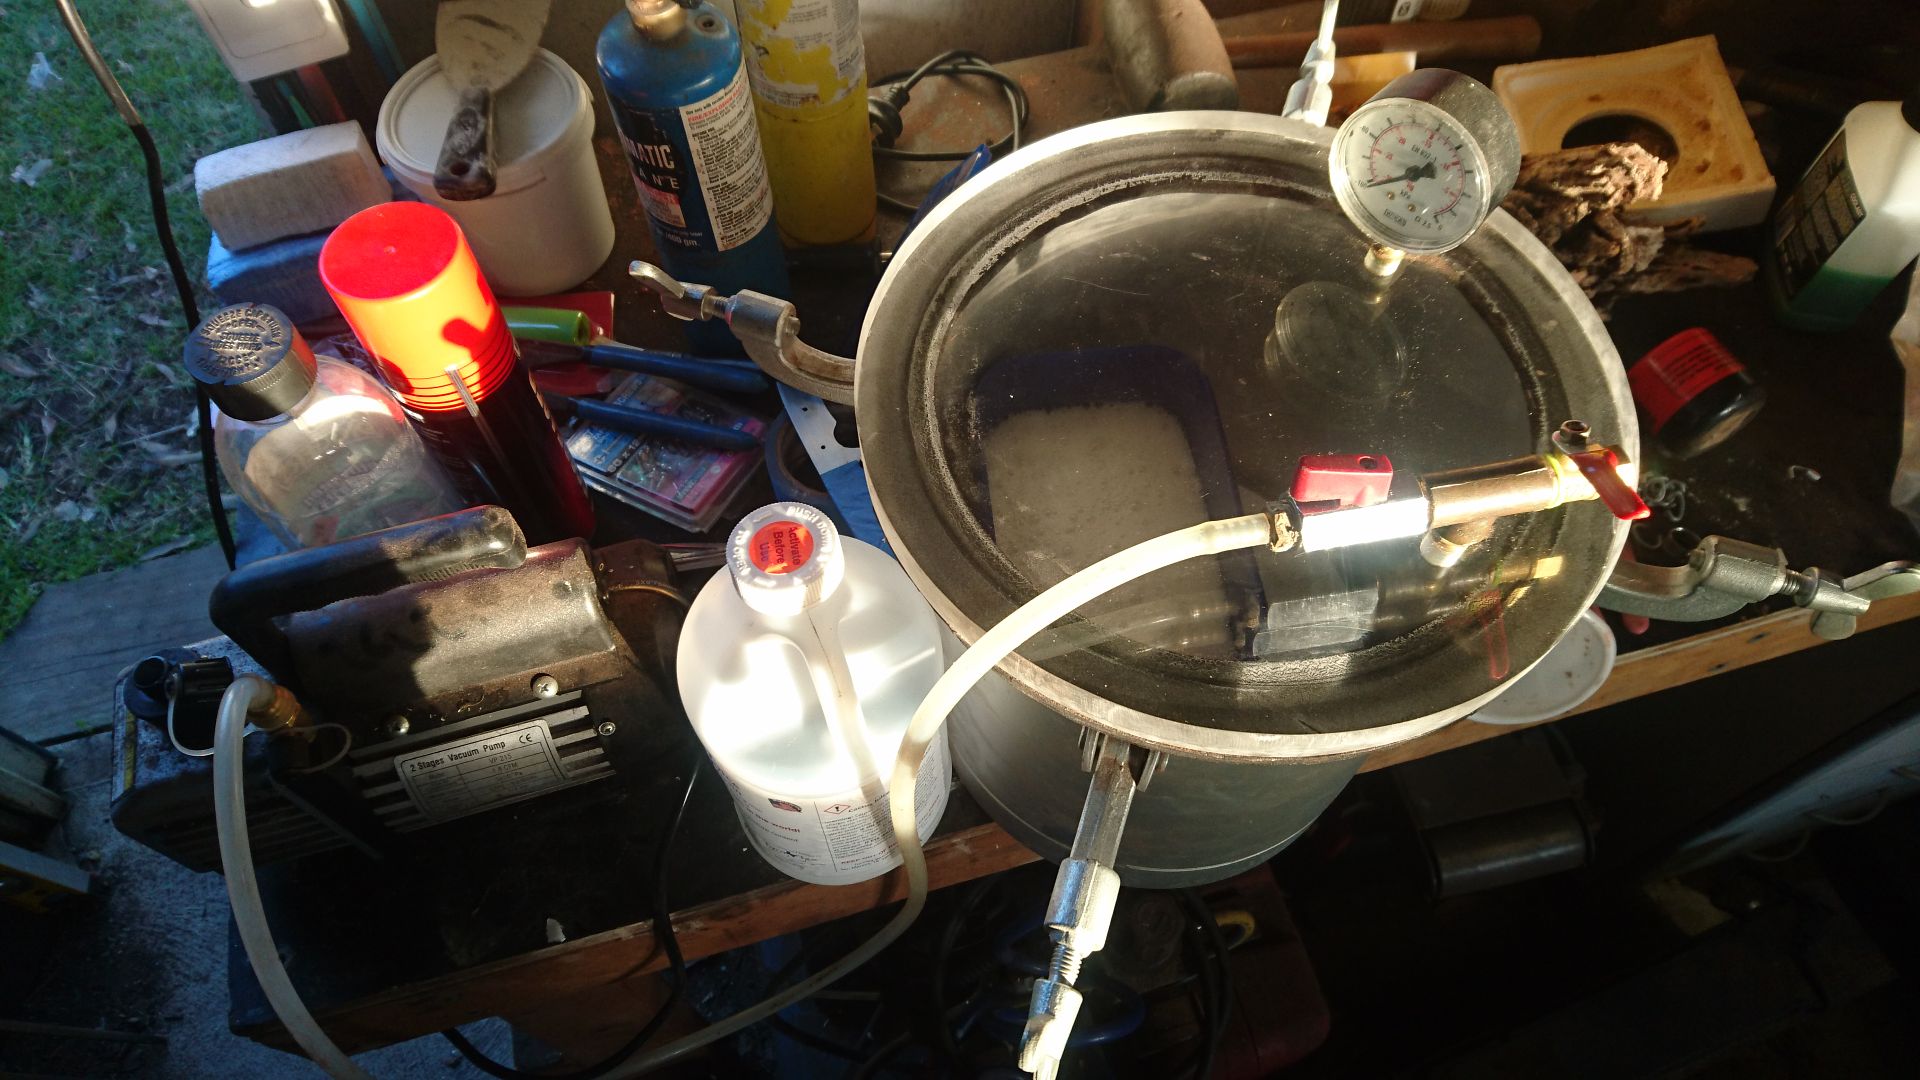
The vacuum is then released and in all the voids where the air has been removed the resin is sucked back into. The wood will soak here for another 2 days until it goes into the oven to cure. I have had bits of wood that keep bubbling for a week or more so its not a fast process with hard aussie woods but means that the wood will be resin impregnated and should be very stable and hard. This is especially good with this piece as it has some really soft rotted pieces in it.
That's where I'm up to at this stage but next step after curing the wood will be to cast the wood in some polyurethane resin to form a usable block for the handle
Cheers
James
I have been wanting to do this for ages but just never got around to it until my cousins husband who I hunt with asked me if I could make him a decent hunting knife. I told him I can make him a hunting knife, not sure about a decent one
While all that was in the post I rummaged through the scrap steel bin at work and acquired everything I needed including a 9kg gas bottle. Anyway I got stuck in and made the forge without taking any photos but anyone thinking of doing something similar there are a couple of good videos on youtube showing the process.
These pics are of the first series of firing starting at a few short bursts for the burner letting it cool in-between and letting it get hotter each time to drive off the moisture and cure the refractory without majorly cracking it. I also purchased a digital temp meter and high temp thermocouples which i inserted through the side of the forge.

Also a hole in the back in case I want to make anything longer

Started off looking at the internet for drop point hunter designs and sketched out something on paper then when i was happy with the shape i cut out a thin plywood template to see how it felt in the hand and used that to transfer the design onto the bar of 12c27 which i think is 3.25mm thick and then cut out with a grinder and shaped on the linisher.
I then started the bevels using a hand file jig i knocked up from design i found on the net. Also knife number 2 blank cut out and in the que (japanese style Nakiri - vegetable knife). Knife was taken down to 1mm at the blade edge, not sure if this is too thick/thin though.

Holes marked out and drilled for handle pins before hardening

Oil quench tank made from salvaged steel holds about 8L of canola oil

The forge was heated up and held at 1080C then blade went in for 6mins, pulled out and then quenced in the oil. All went well, I think, no warps or cracks then into the freezer to chill out for a few hours. My wife just shakes her head these days and mutters something like 'i'm not even going to ask what your doing now'
Knife ready for heat treat

Knife chillin

At this stage the blade is hard, too hard and brittle to be of any use so it gets tempered to soften the blade slightly. 160c for and hour then cool to room temp and repeat. I have a little toaster oven in my shed for drying timber, setting stabilised wood and now tempering knives that did the job nicely.

I finished up the grinds freehand on the linisher to 240 grit and then onto hand sanding all the way 1200 grit Not perfect by any stretch of the imagination but acceptable and mostly stuff that most others wouldn't notice.


Next up was to sort out something for the handle. I have a bunch of burl and resin hybrid handles to choose from as well as some nice figured timbers but I thought I would go all sentimental on this one and use a piece of rotted wood i picked up a year or 2 ago from the farm we hunt on which is owned by my uncle and knife recipients father in law. Cut a piece off, hosed it off really well to get rid of the dirt and lose bits then into the oven to dry for a few hours

Then into a product called cactus juice which is a thin resin that is cured at 70C but to get the resin to soak in the wood the wood is put into a container then covered in the cactus juice and wood weighted down with some thick steel washers to stop it floating and the whole lot goes into a vacuum chamber which essentially sucks all the air out of the wood, this piece of wood was under vacuum for 2 days before it stopped bubbling away.

The vacuum is then released and in all the voids where the air has been removed the resin is sucked back into. The wood will soak here for another 2 days until it goes into the oven to cure. I have had bits of wood that keep bubbling for a week or more so its not a fast process with hard aussie woods but means that the wood will be resin impregnated and should be very stable and hard. This is especially good with this piece as it has some really soft rotted pieces in it.
That's where I'm up to at this stage but next step after curing the wood will be to cast the wood in some polyurethane resin to form a usable block for the handle
Cheers
James
