Making a Powder horn.
Posted: Tue Sep 01, 2015 8:05 pm
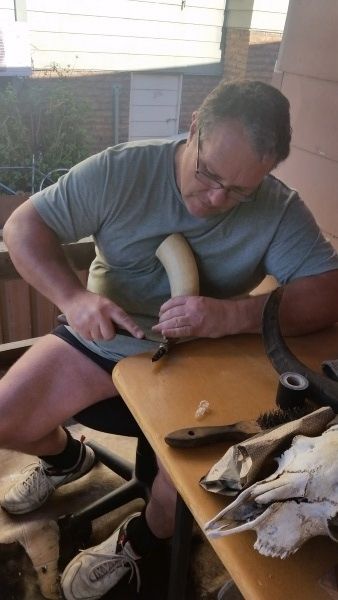
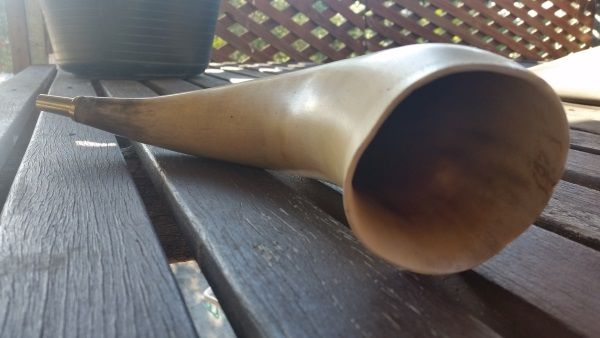
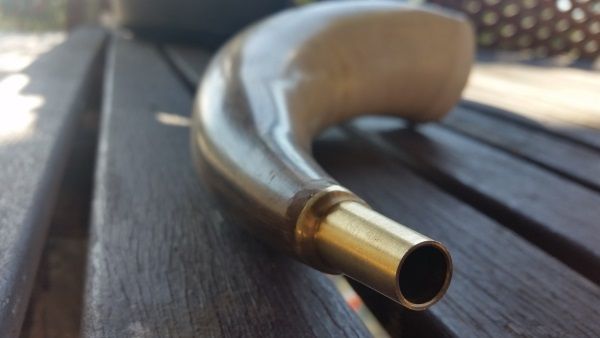
Figured I would do a little build along on a pair of Powder horns I'm making up.
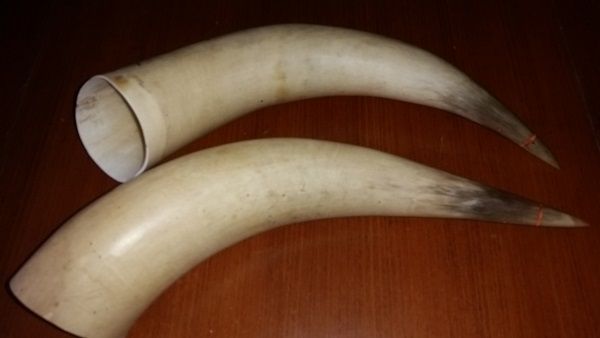
To start off with I took down the pair of large bulls horns that were hanging on the wall in the lounge room!!
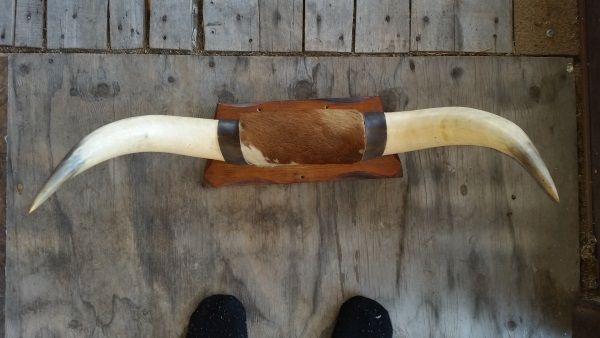
I then removed them from the mounting block they were on.
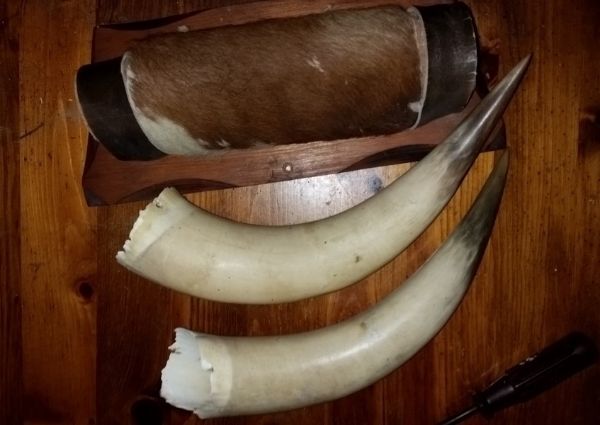
Using a hacksaw I removed the damaged and very thin portion of the horns to be ready for sanding flat.
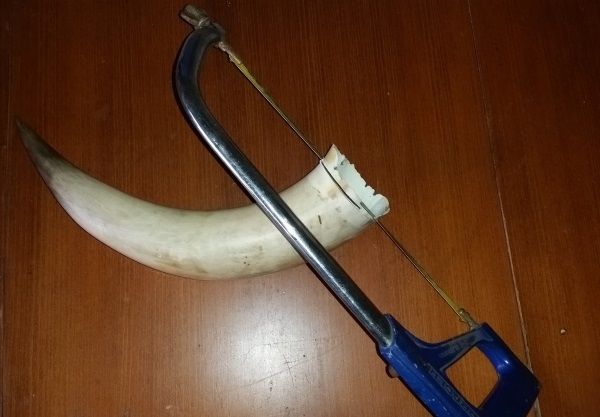
Sanding down the unevenness of my cuts with 80 grit paper to get them even in flatness first, then stepping down in grades of paper from 120, 400, and finishing off with 600 grit to smooth over the edges.
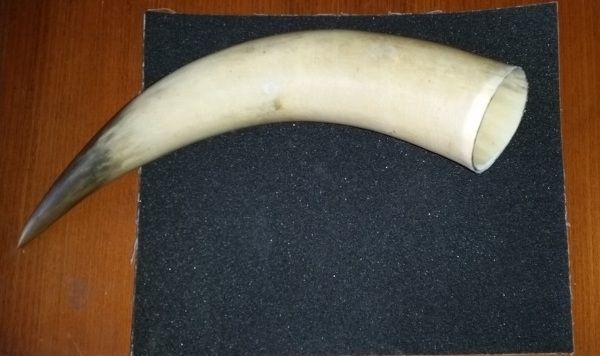
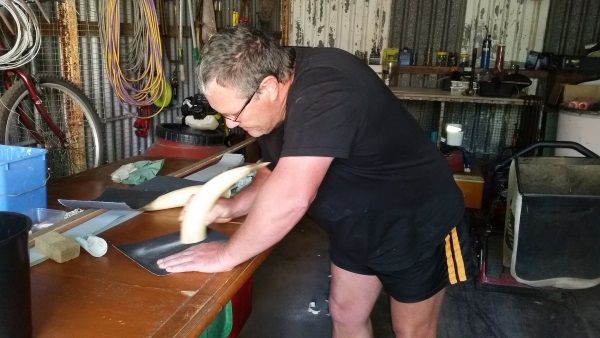
Ready for the measuring and removing of the horn tips in prep for drilling the fill/pour hole.
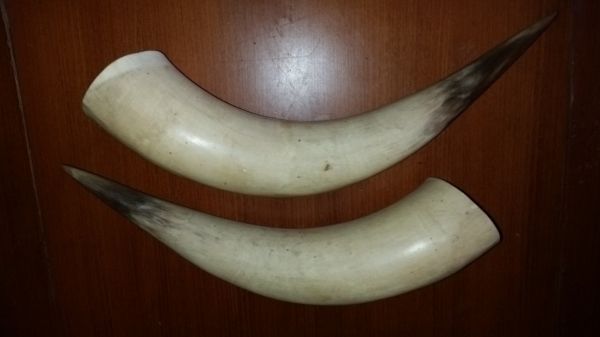
Taking a peace of ti-wire insert down into the horn to find its bottoming point.
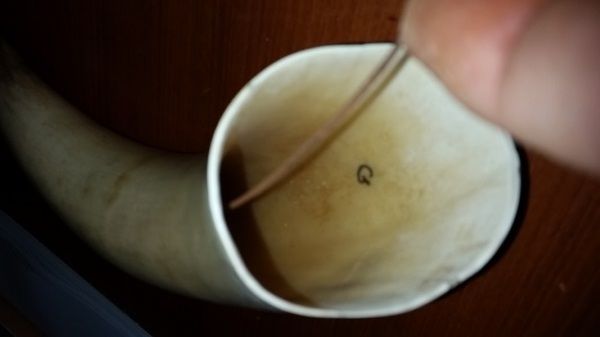
Once the bottom point is found holding the wire to the outside and using a paint pen I marked the horn at the end of the wire where the bottom should be.
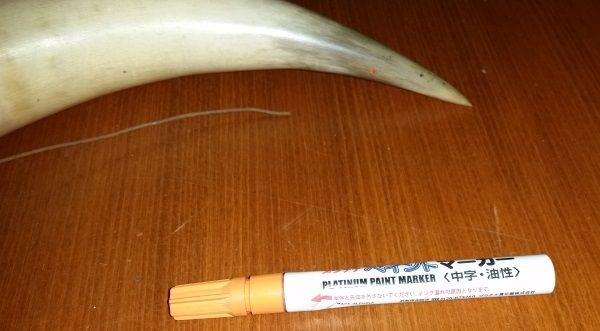
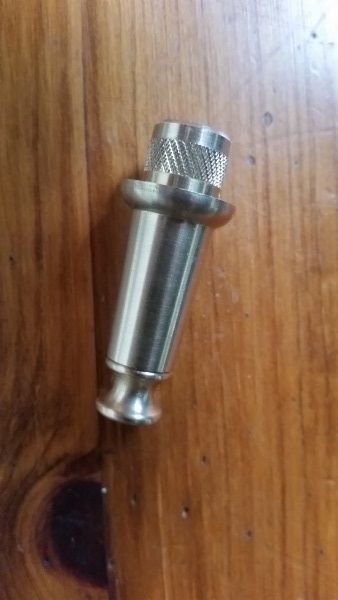
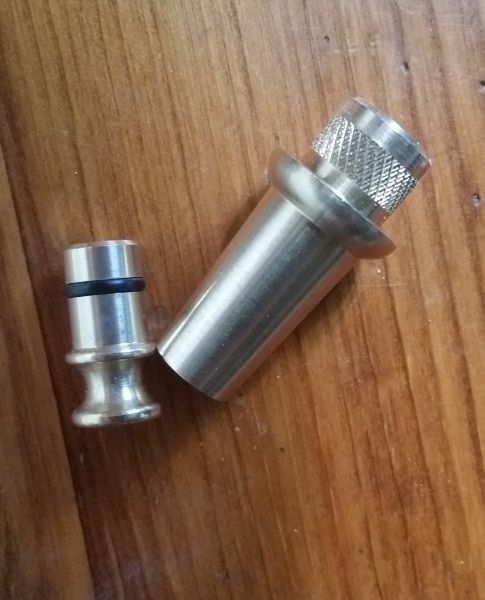
I then used a silicone spout to put the horn tip into to make it easier to mark the horn all way around so as I have a good reference line to cut the tip from.
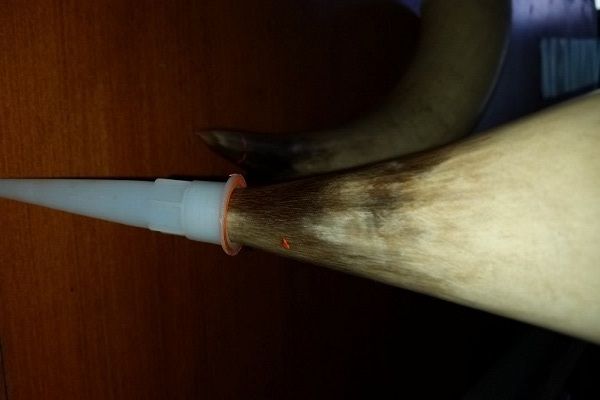
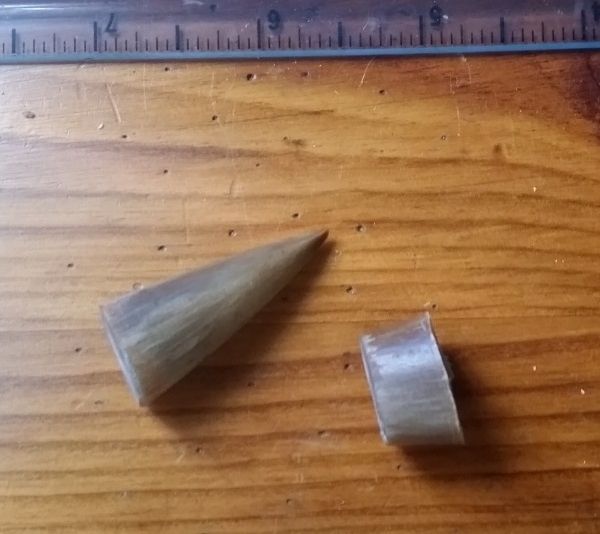
Ready to cut the tips off with the hacksaw. Note: make sure that you be very light in cutting pressure when nearing the offside of the horn tip you are cutting to avoid a splinter from forming.
Using 3 differing sized drill bits ranging from 3, 3.5 and 4.5mm.
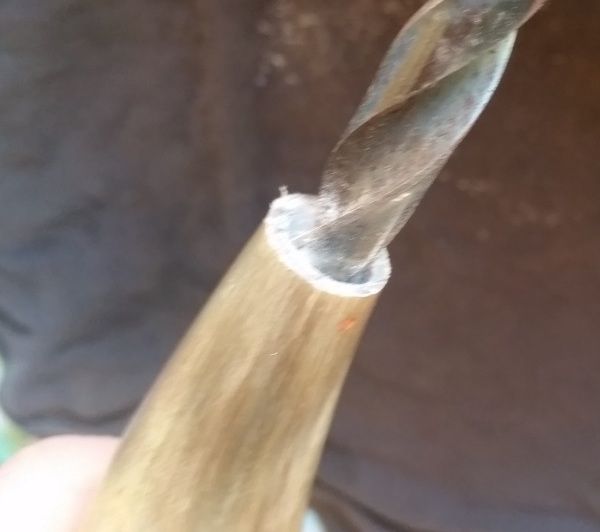
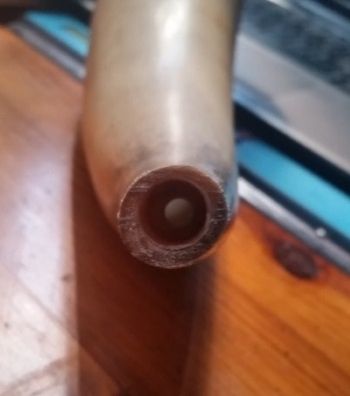
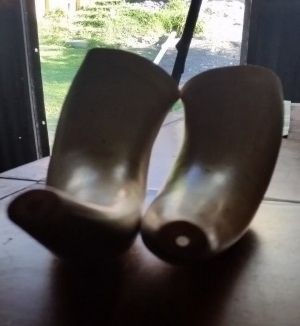
Hold the horn and using the smallest drill bit placed as close to the center of the cut horn as possible and drill inline with the straightest part of the horn (See attachment below) and proceed carefully to drill the length (removing bit occasionally to avoid blocking the bit up) till it makes its way to the inside of the horn. Repeat the process with the next 2 drill bits. Not the best of pics but you can see light coming through the holes.
To start off with I took down the pair of large bulls horns that were hanging on the wall in the lounge room!!

I then removed them from the mounting block they were on.

Using a hacksaw I removed the damaged and very thin portion of the horns to be ready for sanding flat.

Sanding down the unevenness of my cuts with 80 grit paper to get them even in flatness first, then stepping down in grades of paper from 120, 400, and finishing off with 600 grit to smooth over the edges.


Ready for the measuring and removing of the horn tips in prep for drilling the fill/pour hole.

Taking a peace of ti-wire insert down into the horn to find its bottoming point.

Once the bottom point is found holding the wire to the outside and using a paint pen I marked the horn at the end of the wire where the bottom should be.

I then used a silicone spout to put the horn tip into to make it easier to mark the horn all way around so as I have a good reference line to cut the tip from.

Ready to cut the tips off with the hacksaw. Note: make sure that you be very light in cutting pressure when nearing the offside of the horn tip you are cutting to avoid a splinter from forming.

Using 3 differing sized drill bits ranging from 3, 3.5 and 4.5mm.
Hold the horn and using the smallest drill bit placed as close to the center of the cut horn as possible and drill inline with the straightest part of the horn (See attachment below) and proceed carefully to drill the length (removing bit occasionally to avoid blocking the bit up) till it makes its way to the inside of the horn. Repeat the process with the next 2 drill bits. Not the best of pics but you can see light coming through the holes.

