Page 1 of 10
DIY - New Build Project
Posted: Fri Dec 19, 2014 1:31 pm
by albow
So this year did not see me shoot too many LR BR matches however the few I did shoot I dabbled with my psuedo LG come HG and found it to be a rather good challenge. Also seeing as how Jacko has shown how easy it can be in HG


I thought I would build a proper gun for the class and see what I can really achieve. The design is going to be one of my own with selected features from a lot of different stocks that seem to have worked in the past and provided good results.
Knowing how there are a few blokes here who like to see build projects I will post up some progress photos along the way with the mission to have it ready for our first LR match on the first Saturday in February 2015. That means I will probably spend a few hours in the shed over the coming couple of weeks while I am on christmas break so that I can get out and start testing in mid January.
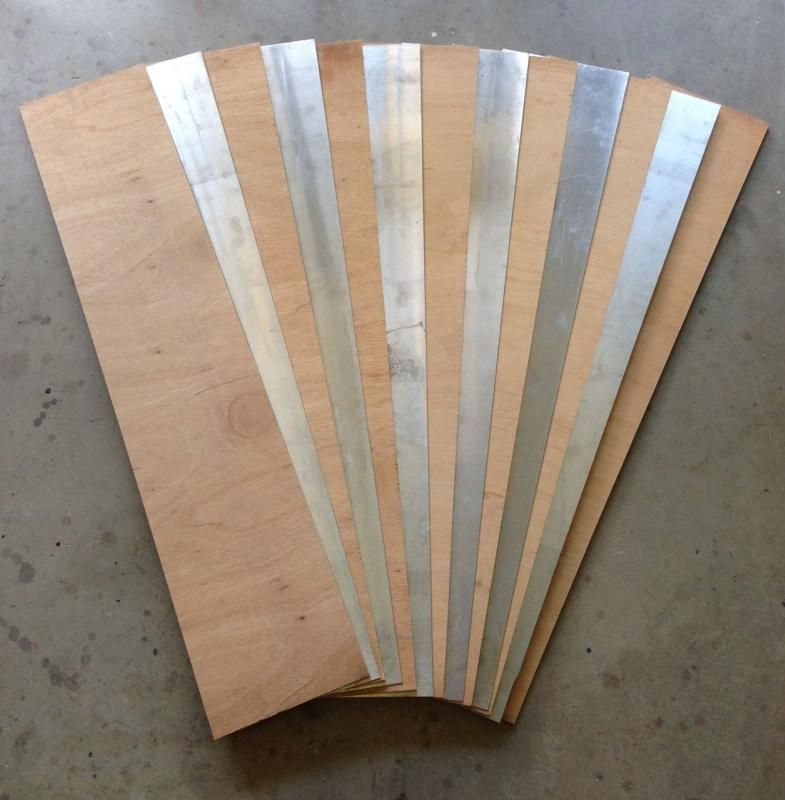
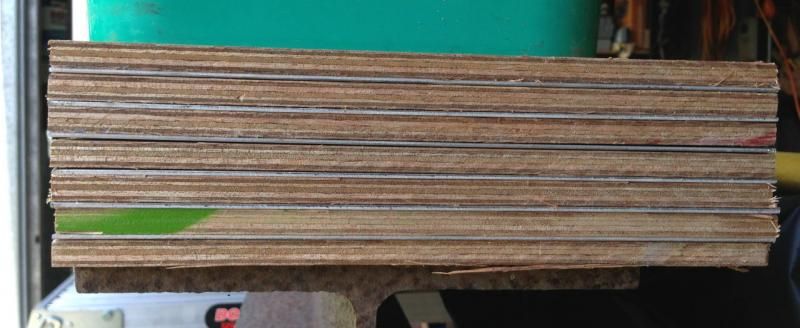
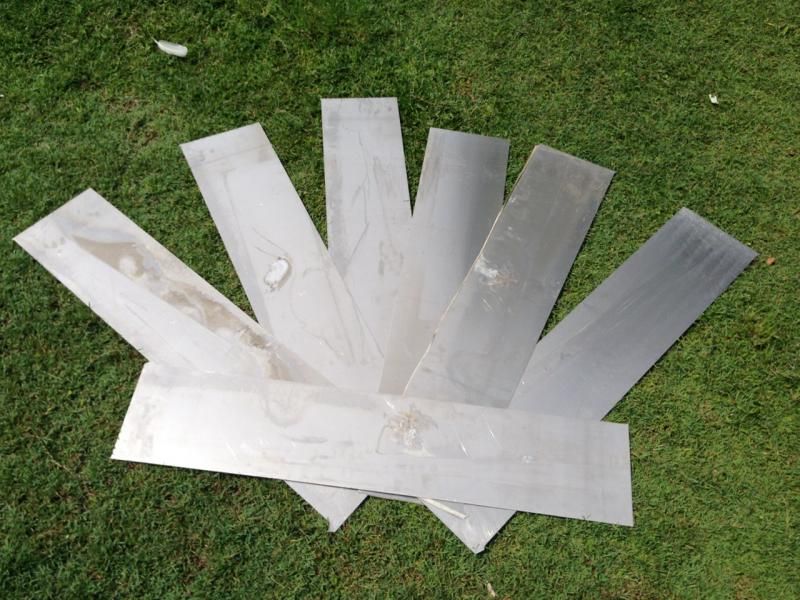
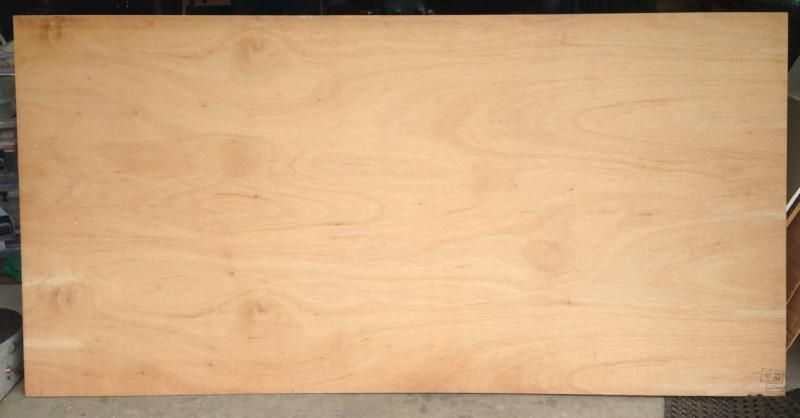
First pics show the raw materials that are going to be used to make the stock which are some alloy offcuts from the scrap metal joint and a sheet of marine ply.
Re: DIY - New Build Project
Posted: Fri Dec 19, 2014 1:38 pm
by albow
Re: DIY - New Build Project
Posted: Fri Dec 19, 2014 3:29 pm
by aaronraad
Always thought something similar would work like ARALL GLARE that have been used in the aircraft industry for decades.
Can you believe R&D for Fibre Metal Laminates (FML) started with (another Dutch) Fokker in 1945???

Currently in use on the C-17 Globemaster III cargo doors and slightly less impressively on the A380:

At least the plywood dust is a little friendlier to breathe than a carbon fibre based lay-up.
Have you tried machining (milling) any test pieces?
I'll put my order in now if that's okay, great work
albow!
Re: DIY - New Build Project
Posted: Fri Dec 19, 2014 4:21 pm
by albow
g'day aaron, yeah nothing new in what I am doing and did consider using carbon because I had played with it in my front and rear wings instead of the alloy however for various reasons decided to go with alloy.
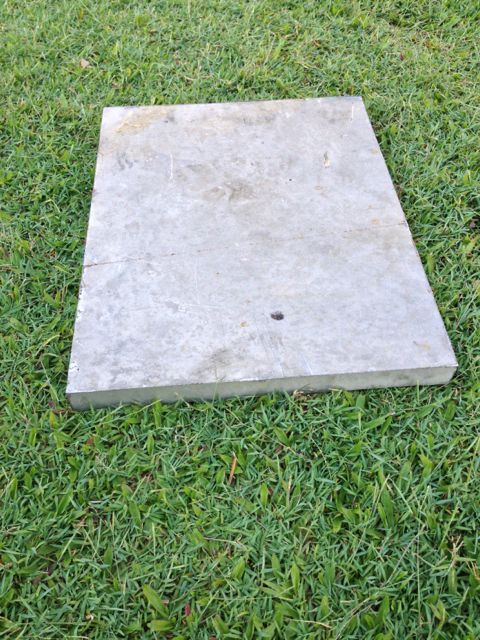
Speaking of which, was just out and about and dropped into the friendly scrap metal dealer and found a nice piece of plate to make front and back pods from :
Re: DIY - New Build Project
Posted: Fri Dec 19, 2014 7:06 pm
by dg
good stuff al
what will be the calibre?
what overall weight are you aiming at (no pun intended)
cheers
dave
Re: DIY - New Build Project
Posted: Fri Dec 19, 2014 7:36 pm
by albow
Hi Dave
Calibre will be 7mm with the 7JAT as the cartridge which is shown promise since I started running it last year and the other lads up here have had good results.
Overall weight I am targetting is around 50lb so see how we go.
Re: DIY - New Build Project
Posted: Sat Dec 20, 2014 7:09 am
by kickinback
I think it's been mentioned in another post some time back, but can you elaborate on the 7JAT please (parent case etc)
Thanks, and looking forward to the next instalment.
Glen
Re: DIY - New Build Project
Posted: Sat Dec 20, 2014 7:45 am
by MISSED
Love it I look forward to the next installment.
Re: DIY - New Build Project
Posted: Sat Dec 20, 2014 8:09 am
by albow
Hi Kickin
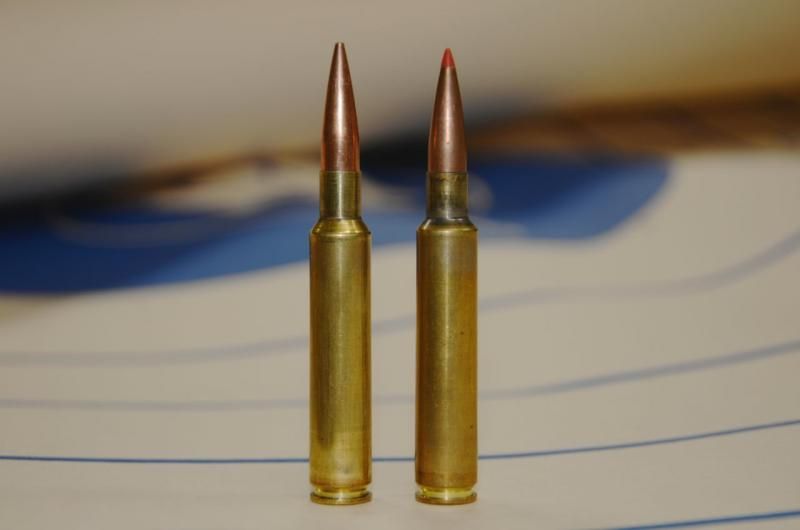
It is very close to the 280AI however is based on the 9.3x62 Lapua brass. I have been running a 30 cal version of the JAT since 2007 and last year went to the 7mm version that others have been using for quite some time. I did change a few things with my reamer design in that I went away from the 40* shoulder and back to the 35* the same as the 284 Win. This cartridge I have run in a couple of F class matches however I have not shot groups with it but based on previous use of it by others it will shoot. Powders that work range from 2209 through to 2217.
This photo is of the new case on the left and the old case.
Re: DIY - New Build Project
Posted: Sat Dec 20, 2014 8:24 am
by kickinback
I really like the long neck on the left hand one.
Re: DIY - New Build Project
Posted: Sat Dec 20, 2014 7:43 pm
by albow
Ok the first half of the stock was laminated together this afternoon with the second half to be done tomorrow.
Have made a quick time-lapse of the process this arvo. See how I go with the second half tomorrow
 OK9SWwFKHiQ&feature=youtu.be
Re: DIY - New Build Project
Posted: Sat Dec 20, 2014 8:17 pm
by MISSED
What sort of adhesive are you using to bond the laminate
Great video as well.
Re: DIY - New Build Project
Posted: Sat Dec 20, 2014 8:19 pm
by Camel
That looked like a fair bit of glue going on there. Good video and good to see the girls getting involved. One question, if you want so much weight, why not just use a redgum railway sleeper.

Re: DIY - New Build Project
Posted: Sat Dec 20, 2014 8:30 pm
by albow
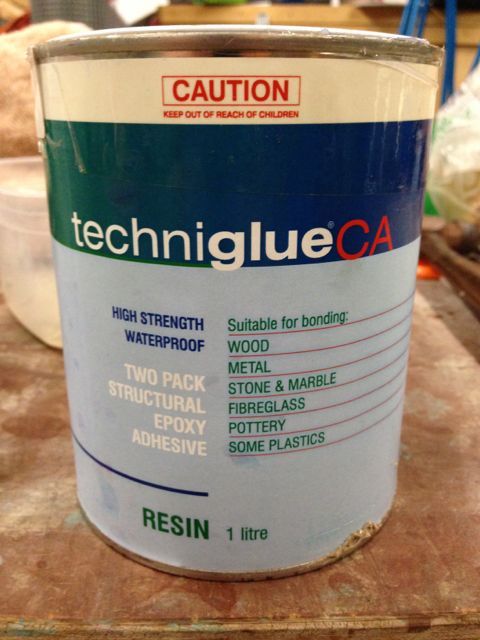
Missed the glue is as per the photo. Have used it for all the jobs that I have done on any rifle. Pretty much it is like araldite when cured however goes off much faster and is used in the marine industry and I buy mine from a marine shop

Re: DIY - New Build Project
Posted: Sat Dec 20, 2014 8:42 pm
by albow
Camel it is not just the weight of the stock, it is also the structural rigidity, vibration damping etc that comes from laminating the layers.
As for the glue, seems like a lot but the sheets are 1220mm x 250mm so I had covered 1.75 square meters of material in that lay up even though I use a notched spatula to apply it you still have a fair bit squeeze out but that just means you get a good bond as the last thing I want is a dry area in the laminating


As for the missus, she was there just in case I needed a hand but with the heat and humidity up here today the glue went off pretty quick being epoxy so she rolled the sleeves up to help out but apparently it is going to cost me a manicure as there is glue all under her nails.........


but I won't let her go till we get the next half glued up tomorrow otherwise it will cost me two manicures


 I thought I would build a proper gun for the class and see what I can really achieve. The design is going to be one of my own with selected features from a lot of different stocks that seem to have worked in the past and provided good results.


